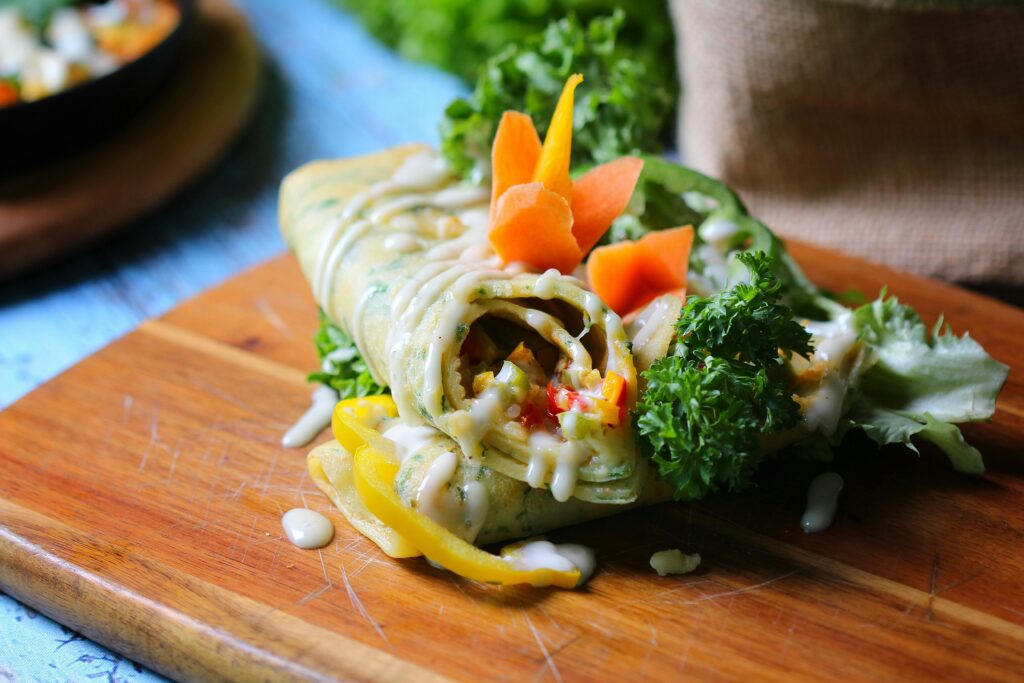

Breakfast Recipes

Suji–Rice Idli Sandwich

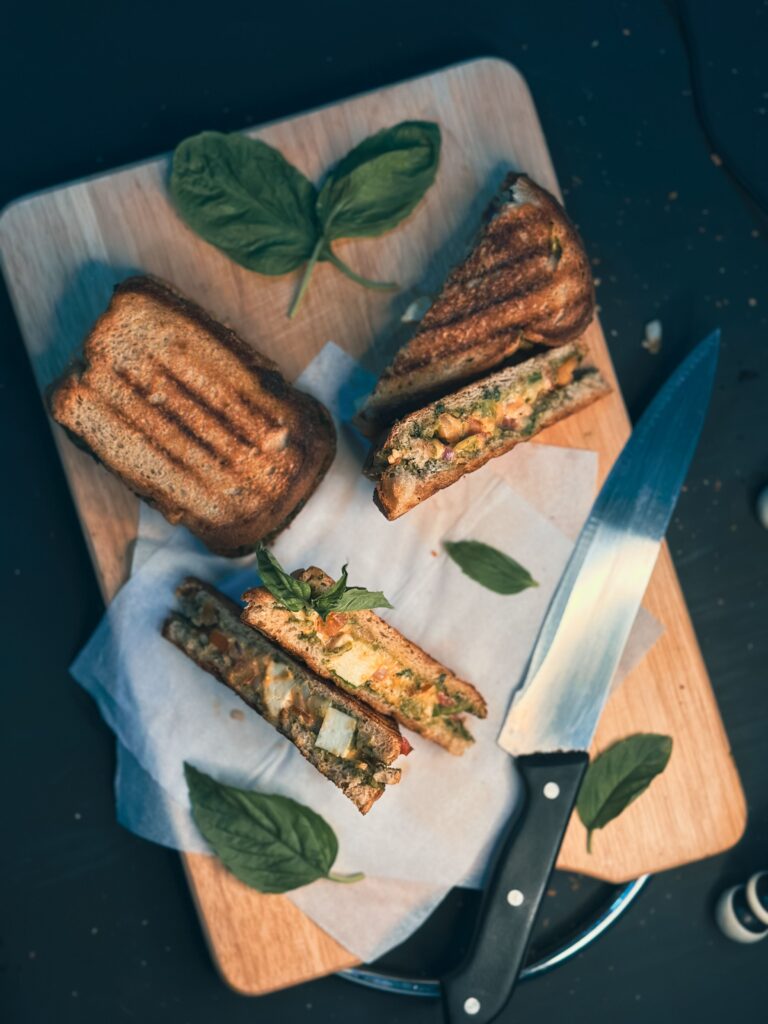
Crispy Layered Suji–Rice Idli Sandwich

A healthy twist on classic idli, layered with spicy vegetable potato masala and finished on the tawa for a delicious crispy texture.

Ingredients

For the Suji–Rice Idli Batter

  • 1 cup suji/rava
  • ½ cup cooked rice
  • ½ cup yogurt
  • Water as required
  • Salt to taste
  • ½ tsp Eno

For the Potato Masala

  • 2 boiled potatoes, mashed
  • 1 onion, finely chopped
  • 1 carrot, grated
  • ½ capsicum, finely chopped
  • 1 green chilli, finely chopped
  • Fresh coriander, chopped
  • ½ tsp mustard seeds
  • ½ tsp cumin seeds
  • Curry leaves
  • ¼ tsp turmeric
  • ½ tsp red chilli powder
  • ½ tsp coriander powder
  • ½ tsp garam masala
  • Salt to taste
  • 1 tsp oil

Method

  1. Prepare the batter: Blend cooked rice, yogurt and a little water until smooth. Mix with suji and salt. Add water as required to make a thick but pourable batter. Rest for 15–20 minutes.
  2. Prepare the potato masala: Heat 1 tsp oil. Add mustard seeds, cumin seeds and curry leaves. Once they crackle, add onion, green chilli, carrot and capsicum. Sauté until slightly soft.
  3. Add turmeric, red chilli powder, coriander powder, garam masala and salt. Add mashed potatoes and mix well. Finish with fresh coriander.
  4. Add Eno: Just before steaming, add ½ tsp Eno to the prepared batter. Sprinkle 1–2 tsp water over it and gently mix in one direction. Do not overmix.
  5. First layer: Grease a round steel plate/thali that fits inside your steamer. Pour half of the batter onto the plate and spread evenly.
  6. Steam for 5–7 minutes, just until the first layer is set.
  7. Add the filling: Carefully spread the potato masala evenly over the steamed first layer.
  8. Second layer: Pour the remaining batter over the potato masala and gently spread it to completely cover the filling.
  9. Steam again for 10–12 minutes, or until the top layer is fully cooked.
  10. Allow it to rest for 5 minutes, then carefully remove it from the plate and cut into squares or wedges.

Make It Crispy

  1. Heat a non-stick tawa and lightly brush it with oil.
  2. Place the idli sandwich pieces on the tawa.
  3. Cook on medium-low heat for 2–3 minutes until golden and crisp underneath.
  4. Flip carefully and crisp the other side.
  5. For extra crunch, sprinkle a few sesame seeds on the tawa before placing the idli pieces.

Serve hot with mint-coriander chutney, tomato chutney or a yogurt dip.

Tip: If you are making two layers, add Eno to the batter immediately before starting the steaming process so the batter stays light and fluffy.
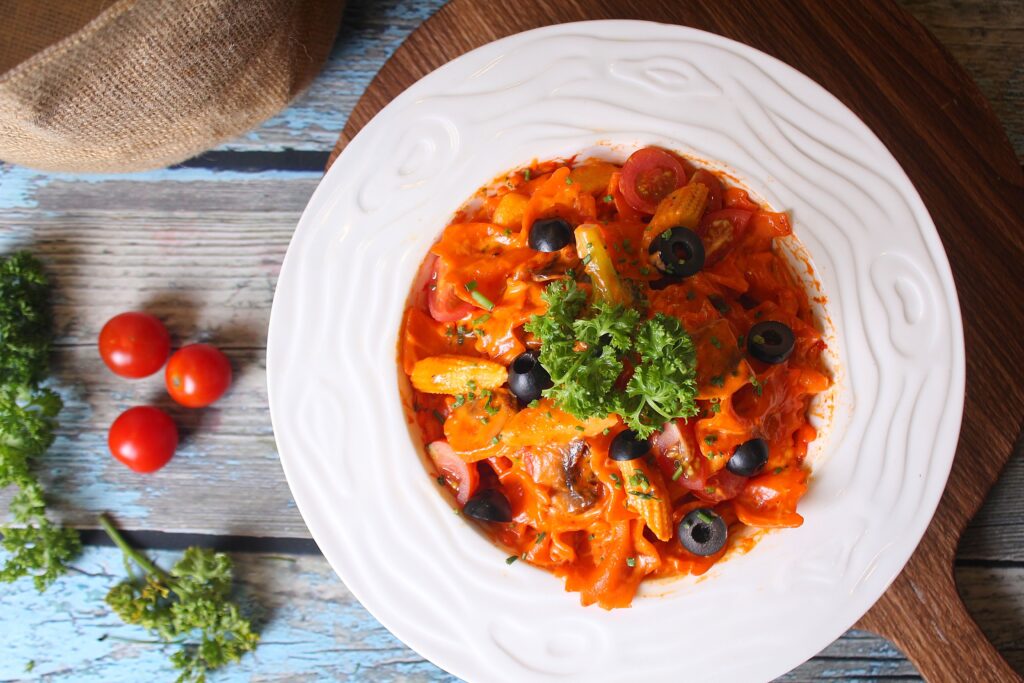

Vegetable and Paneer Pasta

Serves: 1

Ingredients

  • Pasta – 30 g dry
  • Paneer – 75 g
  • Tomatoes – 2 medium
  • Garlic – 3 cloves
  • Onion – ¼ small
  • Capsicum – ¼ cup
  • Thick yogurt – 1 tbsp
  • Chilli flakes – ½ tsp
  • Oregano – ½ tsp
  • Black pepper – ¼ tsp
  • Kashmiri chilli powder – ½ tsp
  • Salt – to taste
  • Cheese – 10 g
  • Oil – ½ tsp

👩‍🍳 Method

  1. Cook the pasta until al dente and keep aside.
  2. Roughly chop tomatoes, onion and garlic.
  3. Heat ½ tsp oil and sauté garlic, onion and tomatoes until soft.
  4. Add Kashmiri chilli powder, chilli flakes, oregano and pepper.
  5. Cool slightly and blend the tomato mixture + paneer + yogurt into a smooth, creamy paste.
  6. Return the sauce to the pan and cook on low heat for 2–3 minutes.
  7. Add the cooked pasta and toss well. Add a little pasta water if needed.
  8. Finish with 10 g grated cheese and oregano.

💡 For a smoother sauce

Soak the paneer in warm water for 5–10 minutes before blending. This makes the paneer easier to blend and gives the sauce a much creamier texture.

Advanced prep: Make the paneer-tomato sauce in advance and refrigerate. Cook fresh pasta and combine when ready.

Paneer Reshmi Kebab

Makes: 6–8 small kebabs

Ingredients

  • Paneer – 100 g, grated/crumbled
  • Hung curd – 2 tbsp
  • Besan – 1 tbsp
  • Capsicum – 2 tbsp, very finely chopped
  • Carrot – 2 tbsp, very finely chopped
  • Onion – 1 tbsp, very finely chopped
  • Green chilli – 1, finely chopped
  • Ginger-garlic paste – ½ tsp
  • Kasuri methi – ½ tsp
  • Roasted cumin powder – ½ tsp
  • Garam masala – ¼ tsp
  • Black pepper – ¼ tsp
  • Chaat masala – ¼ tsp
  • Salt – to taste
  • Oil – ½–1 tsp for cooking

👩‍🍳 Method

  1. Dry roast the besan in a pan on low heat for 2–3 minutes. Let it cool.
  2. In a bowl, combine crumbled paneer + hung curd.
  3. Add finely chopped capsicum, carrot, onion, green chilli and ginger-garlic paste.
  4. Add roasted besan and all the spices.
  5. Mix well until you get a thick, soft mixture.
  6. Refrigerate for 20–30 minutes. This makes shaping much easier.
  7. Shape into small flat kebabs using slightly wet hands.
  8. Heat a non-stick pan and brush with a little oil.
  9. Cook the kebabs on medium-low heat, gently turning them until golden on both sides.
  10. Serve hot with mint-yogurt chutney and salad.

❄️ Advanced Prep

You can prepare the complete kebab mixture the night before and refrigerate it. Shape and cook when needed.

Important: Make sure the vegetables are very finely chopped and don’t add excess moisture. If the mixture feels loose, add another ½–1 tsp roasted besan rather than adding lots of flour.

Bombay-Style Vada Pav Besan Cheela Wrap

Serves: 2 | Makes: 2 wraps

🟡 For the Besan Cheela

  • ½ cup besan
  • 2 tbsp finely chopped onion
  • 1 tbsp coriander
  • 1 green chilli, finely chopped
  • ¼ tsp turmeric
  • ½ tsp ajwain
  • ½ tsp red chilli powder
  • Salt to taste
  • Water as required
  • 1 tsp oil for cooking

Method:
Mix everything into a smooth, pourable batter. Rest for 5–10 minutes. Make 2 thin cheelas on a non-stick pan and cook until lightly crisp on both sides.

🥔 Vada Filling

  • 1 cup boiled potato, mashed
  • ½ cup boiled green moong dal
  • ½ tsp mustard seeds
  • ½ tsp cumin
  • 1 tsp grated ginger
  • 1–2 green chillies
  • ½ tsp turmeric
  • ½ tsp red chilli powder
  • ½ tsp garam masala
  • Coriander
  • Salt
  • 1 tsp oil

Sauté the spices, add potato and moong, and cook for 2–3 minutes. Shape into small patties and pan-sear or air-fry until golden.

🧄 Vada Pav Garlic Chutney

Blend:

  • 2 tbsp roasted peanuts
  • 2 garlic cloves
  • ½ tsp red chilli powder
  • Pinch of cumin
  • Salt
  • A little water

🌯 Assemble

  1. Place the besan cheela flat.
  2. Spread a little green chutney + hung curd.
  3. Add a thin layer of garlic-peanut chutney.
  4. Add shredded cabbage, onion and tomato.
  5. Place the vada filling/patties in the centre.
  6. Sprinkle with coriander and a little dry vada pav masala.
  7. Roll tightly and serve warm.

⭐ Best Healthy Combination

Besan cheela + moong-potato vada + peanut-garlic chutney + crunchy vegetables = a satisfying, high-fibre, protein-rich version of your favourite Bombay Vada Pav without deep frying. 🌶️💛

No-Bread Paneer Moong Dal Sandwich (High-Protein & Healthy)

🌿 Ingredients (Serves 2)

For the Moong Dal “Bread”:

  • 1 cup yellow moong dal (soaked for 4–5 hours)
  • 1 inch ginger
  • 2 green chilies (optional)
  • ¼ tsp turmeric
  • ½ tsp cumin seeds
  • Salt to taste
  • 2 tbsp water (if needed)

For the Paneer Filling:

  • 100 g low-fat paneer, crumbled
  • 1 small onion, finely chopped
  • 1 small tomato, deseeded & finely chopped
  • 2 tbsp grated carrot
  • 2 tbsp capsicum, finely chopped
  • 2 tbsp coriander leaves
  • ½ tsp black pepper
  • ½ tsp roasted cumin powder
  • ½ tsp chaat masala (optional)
  • Salt to taste
  • 1 tsp lemon juice

👩‍🍳 Method

  1. Drain the soaked moong dal.
  2. Blend it with ginger, green chilies, turmeric, cumin, salt, and just enough water to make a thick batter.
  3. Heat a non-stick pan and lightly grease it.
  4. Spread a ladle of batter into a thick square or circle (about ½ cm thick).
  5. Cook on medium heat for 3–4 minutes, flip, and cook another 2–3 minutes. Make 4 pieces.
  6. Mix all the paneer filling ingredients in a bowl.
  7. Place the filling between two moong dal slices like a sandwich.
  8. Toast the sandwich on the pan for 1–2 minutes per side until crisp.
  9. Serve hot with mint yogurt dip or green chutney.

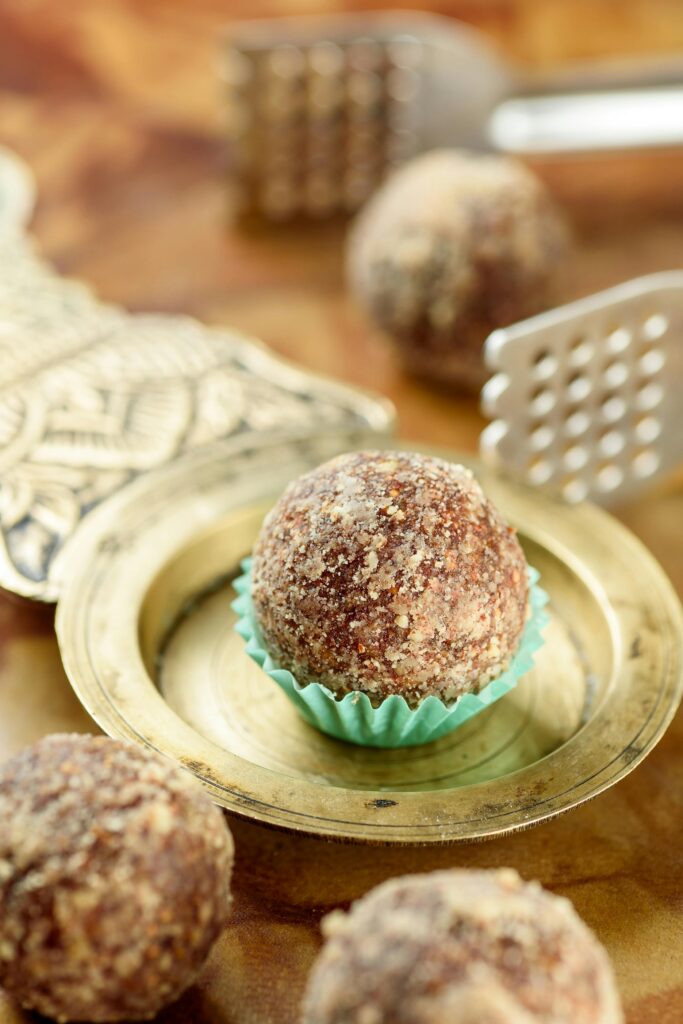
Healthy Nut & Seed Energy Laddoos (which you can also leave in loose powder form as Panjiri).

Here is a recipe for Healthy Nut & Seed Energy Laddoos (which you can also leave in loose powder form as Panjiri). This recipe uses every single ingredient you mentioned and is packed with healthy fats, fiber, and natural sweetness.

📋 Ingredients List

Ingredient GroupIngredientsQuantity (Approx.)
NutsAlmonds (Badam), Cashews (Kaju), Walnuts1/2 cup each
SeedsSesame seeds (Til), Flax seeds (Alsi)1/4cup each
Seeds (Raw)Chia seeds2 tbsp (do not roast)
Base & SweetenersMakhana (Foxnuts) powder, Jaggery (Gur), Dates (Khajur)1.5 cups makhana, 1/2cup jaggery, 1/2 cup pitted dates
BindingGhee3-4 tbsp

👩‍🍳 Step-by-Step Instructions

Step 1: Roast the Nuts & Seeds

  1. Makhana: Heat 1 tsp of ghee in a pan. Roast the makhana until they are crunchy. Let them cool and grind into a fine powder (if you don’t have pre-made powder).
  2. Nuts: Add another tsp of ghee and roast the almonds, cashews, and walnuts on low heat until aromatic (about 3–4 minutes). Remove and let them cool.
  3. Seeds: In the same dry pan, roast the sesame seeds and flax seeds for 2 minutes until they start to pop. Do not roast the chia seeds. ### Step 2: Grind Everything
  4. Put the cooled nuts, sesame seeds, and flax seeds into a blender. Pulse them into a coarse powder. (Don’t over-blend, or the nuts will release too much oil and turn into butter).
  5. Transfer this mix into a large bowl. Add the makhana powder and the raw chia seeds. Mix well.

Step 3: Prepare the Sweetener Base

  1. Blend the pitted dates with 1-2 tablespoons of warm water to form a smooth paste.
  2. In a pan, add 1 tbsp of ghee and melt the jaggery on low heat with 1 tbsp of water just until it dissolves. Add the dates paste to this and cook for 1 minute on low heat until combined.

Step 4: Mix and Shape

  1. Pour the warm jaggery-date mixture into the bowl with the dry powder.
  2. Add the remaining melted ghee.
  3. Mix everything rapidly with a spoon (it will be hot!). Once it’s cool enough to handle, use your hands to mix thoroughly.

For Panjiri: You are done! Let the mixture cool completely and store it as a loose, nutritious powder.

For Laddoos: Take small portions of the warm mixture in your palms and press firmly to shape them into round laddoos.

💡 Quick Tips

  • Binding Trouble? If the mixture feels too dry to shape into laddoos, add a teaspoon of warm melted ghee or a splash of warm milk (note: adding milk reduces shelf life).
  • Storage: Store in an airtight container. Because of the dates, keeping them in the fridge will make them last longer (up to a month).

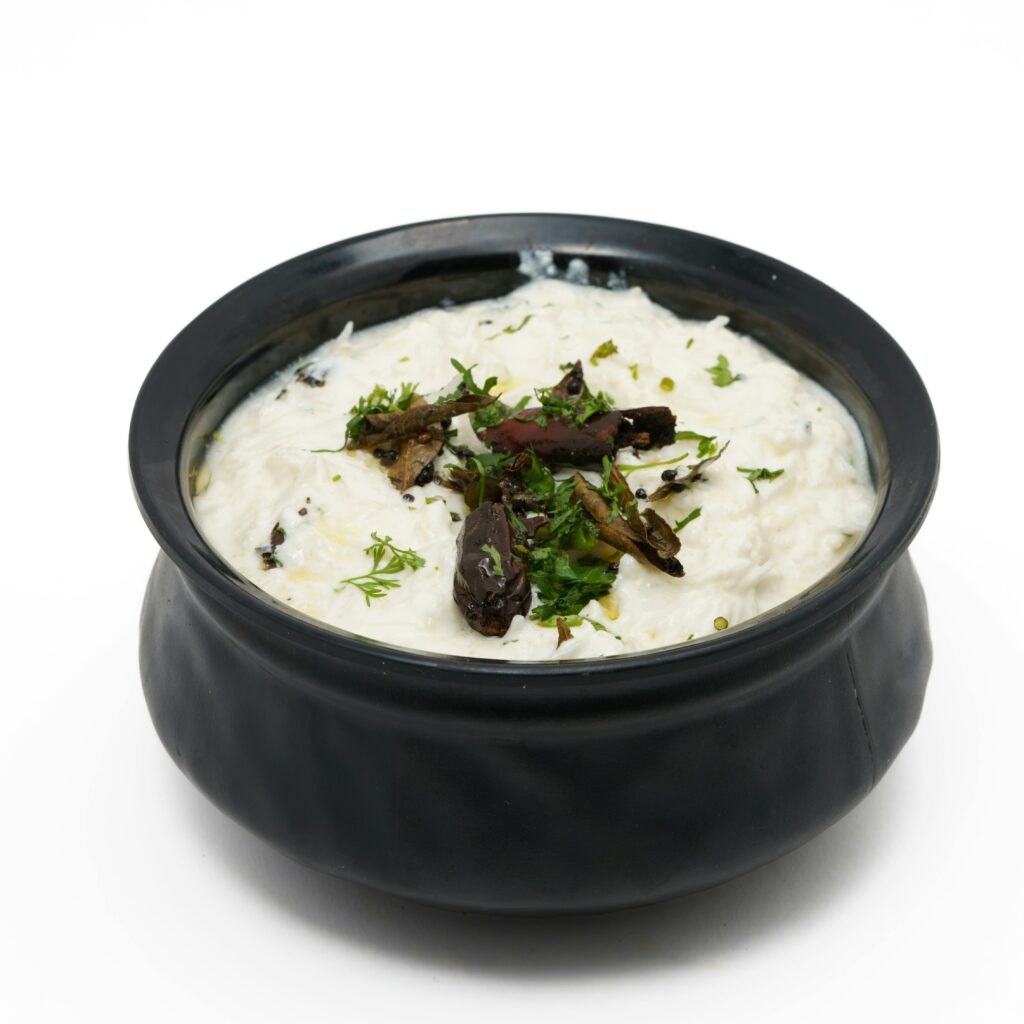
Bore Basi (Chhattisgarh) / Panta Bhat (Eastern India)

Ingredients

  • 1 cup cooked rice (preferably from the previous day)
  • 1–2 cups drinking water
  • Salt to taste

Basic Method

  1. Place the cooked rice in a bowl or pot.
  2. Add enough water to fully cover the rice.
  3. Cover and leave it overnight at room temperature (typically 8–12 hours).
  4. The next morning, lightly mash or stir the rice.
  5. Add salt and serve.

Traditional Bore Basi (Chhattisgarh) Serving Ideas

Often served with:

  • Roasted or fried green chilies
  • Raw onions
  • Fresh curd (yogurt)
  • Pickles
  • Roasted tomatoes or garlic chutney
  • Seasonal vegetables

Traditional Panta Bhat (Bengal & Assam) Serving Ideas

Common accompaniments include:

  • Fried fish
  • Raw onions and green chilies
  • Mustard oil
  • Salt
  • Pickles

Food Safety Tips

  • Use clean drinking water.
  • In very hot climates, fermentation happens quickly; if the rice develops an unpleasant smell, mold, or unusual appearance, discard it.
  • If your kitchen stays very warm overnight, you can ferment it for a shorter time or refrigerate it after a few hours.

Quick Version

If you don’t want fermentation, simply soak cooked rice in cool water for 30–60 minutes and serve with salt, curd, onions, and chilies. It won’t have the tangy flavor of traditional Bore Basi/Panta Bhat, but it’s still refreshing.

Strawberry Oats Milkshake

Ingredients

  • 1 cup strawberries (fresh or frozen)
  • 3 tbsp rolled oats
  • 1 cup milk (dairy or plant-based)
  • 1–2 tsp honey or sugar (optional)
  • 3–4 ice cubes

Method

  1. Soak the oats in a little milk for 5–10 minutes if you want a smoother texture.
  2. Add strawberries, oats, milk, sweetener, and ice cubes to a blender.
  3. Blend until smooth and creamy.
  4. Taste and adjust sweetness or thickness:
    • Add more milk for a thinner shake
    • Add more oats or frozen strawberries for a thicker shake
  5. Serve chilled.

Variations

  • Add 1 tbsp peanut butter for extra protein.
  • Add chia or flax seeds for more fiber.
  • Use yogurt instead of some milk for a richer smoothie-style drink.
  • Add a pinch of cinnamon or vanilla extract for extra flavor.

Quick Nutrition Benefits

  • Strawberries: vitamin C and antioxidants
  • Oats: fiber and slow-release energy
  • Milk: protein and calcium

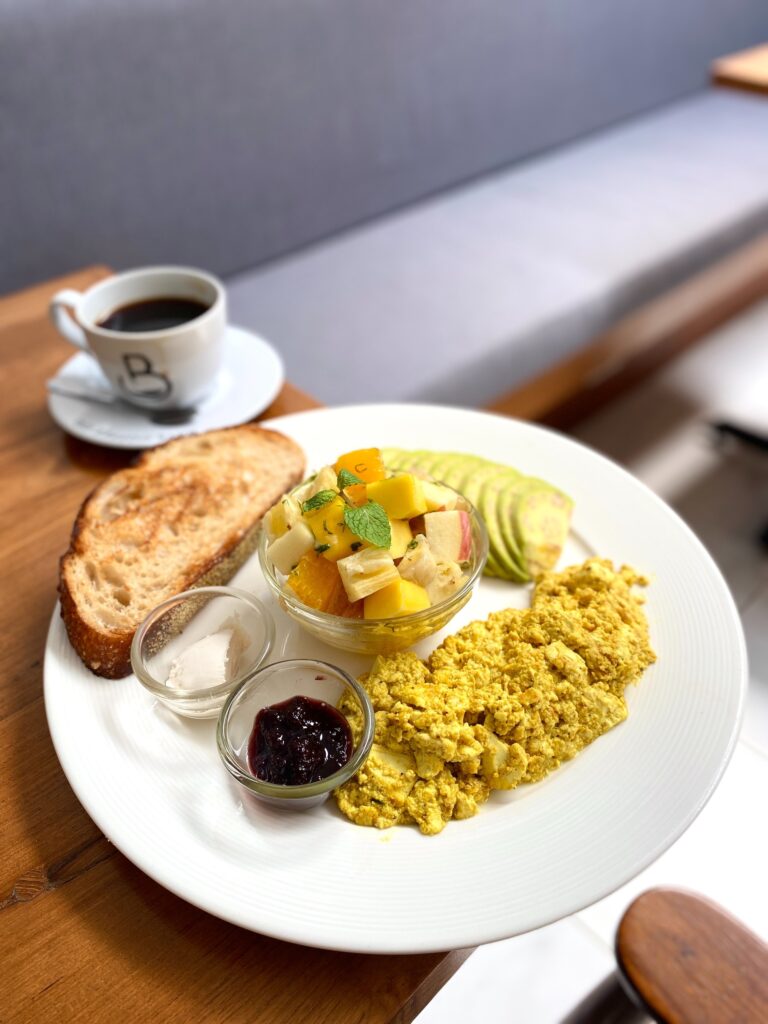
Quick High-Protein Tofu Scramble

A fast, savory, high-protein meal that works for breakfast, lunch, or post-workout.

Nutrition (Approx. 1 Serving)

  • Protein: ~25 g
  • Calories: ~280–350 kcal
  • Time: 7–10 mins

Ingredients

Base

  • 200 g firm tofu
  • 1 tsp oil (olive oil or butter)

Seasoning

  • ¼ tsp turmeric
  • ½ tsp chili flakes
  • ½ tsp garlic powder
  • Salt to taste
  • Black pepper to taste

Optional Flavor Boosters

  • ¼ tsp cumin powder
  • ½ tsp oregano
  • 1 tsp soy sauce
  • 1 tbsp nutritional yeast (cheesy flavor)

Optional Veggies

  • 2 tbsp onion, chopped
  • 2 tbsp capsicum, chopped
  • Spinach or mushrooms

Step 1: Prep the Tofu

Use:

  • firm or extra-firm tofu

Drain excess water.

For better texture:

  • Wrap tofu in a kitchen towel.
  • Press gently for 2–3 minutes.

Break it apart using your hands or fork.

You want:

  • uneven crumbles
  • similar to scrambled eggs

Step 2: Heat the Pan

Place a non-stick pan on medium heat.

Add:

  • 1 tsp oil

If using vegetables:

  • sauté onions/capsicum for 1–2 minutes first.

Step 3: Add Tofu + Seasoning

Add crumbled tofu to the pan.

Sprinkle:

  • turmeric
  • chili flakes
  • garlic powder
  • salt
  • pepper

Mix well so the tofu gets evenly coated.

The turmeric gives:

  • egg-like color
  • mild earthy flavor

Step 4: Cook Until Crispy

Cook on medium heat for:

  • 5–7 minutes

Stir occasionally, not constantly.

This helps the tofu:

  • brown properly
  • develop crispy edges

For extra crispness:

  • press lightly with spatula
  • let it sit untouched for 30–40 seconds between stirs

Step 5: Final Flavoring

Optional additions near the end:

  • soy sauce for umami
  • oregano for pizza flavor
  • nutritional yeast for cheesy taste

Cook 1 extra minute.


Serving Ideas

High-Protein Breakfast

Serve with:

  • toast
  • avocado
  • fruit

Indian Style

Wrap inside:

  • roti
  • dosa
  • paratha

Gym Meal

Pair with:

  • rice
  • sautéed vegetables

Variations

Masala Tofu Bhurji

Add:

  • tomatoes
  • coriander
  • cumin
  • garam masala

Pizza Scramble

Add:

  • oregano
  • pizza sauce
  • low-fat cheese

Spicy Version

Add:

  • green chilies
  • peri peri seasoning
  • smoked paprika

Tips for Best Texture

Don’t overcrowd the pan

Too much moisture = soggy tofu.

Use firm tofu

Soft tofu won’t crisp properly.

Medium heat works best

High heat burns spices before tofu crisps.

Press tofu beforehand

Removes water and improves browning

Egg Omelette Wrap Recipe


🌯 Egg Omelette Wrap Recipe

Ingredients:

  • 2 eggs
  • 1 roti / tortilla / chapati
  • 2 tbsp chopped onion
  • 2 tbsp chopped tomato
  • 1 green chili (optional)
  • Salt & black pepper (to taste)
  • 1–2 tsp oil or butter
  • Optional: grated cheese, coriander, ketchup or mayo

👩‍🍳 Steps:

  1. Prepare the egg mix
    Crack eggs into a bowl. Add onion, tomato, chili, salt, and pepper. Beat well.
  2. Heat the pan
    Add a little oil or butter on medium heat.
  3. Cook the omelette
    Pour the egg mixture into the pan and spread slightly.
  4. Place the roti on top
    While the egg is still wet, place the roti directly over it and press gently so it sticks.
  5. Flip it
    Once the egg is cooked on one side, flip the whole thing so the roti is now at the bottom.
  6. Add fillings
    Add cheese, sauces, or extra veggies on top of the omelette side.
  7. Wrap it up
    Fold or roll into a wrap and cook for another minute until slightly crispy.
  8. Serve hot
    Cut in half and enjoy!

💡 Tips:

  • Use leftover roti to save time.
  • Add shredded chicken or paneer for extra protein.
  • A little butter at the end gives great flavor.