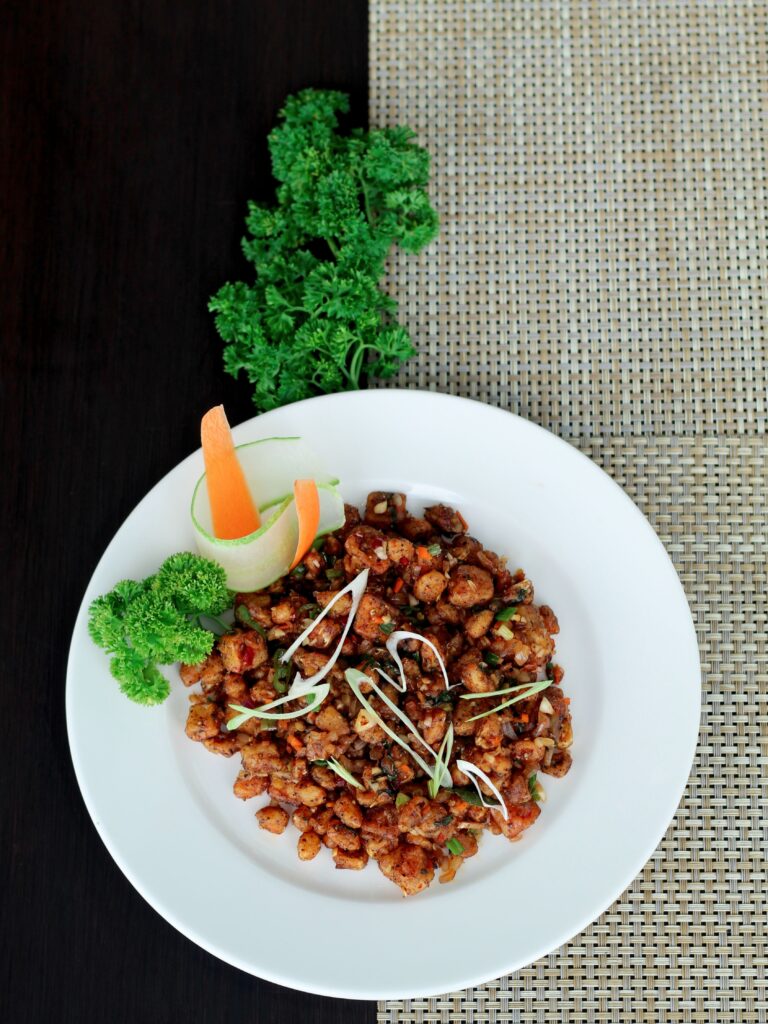
healthy recipe

Healthy Peri-Peri Soya Chunks — 30 g

Makes: 1 serving
Soya chunks: 30 g dry

Ingredients of Peri-Peri Soya Chunks

  • Soya chunks – 30 g
  • Thick yogurt – 1 tbsp
  • Peri-peri seasoning – 1 tsp
  • Kashmiri chilli powder – ¼ tsp
  • Garlic paste – ½ tsp
  • Lemon juice – 1 tsp
  • Black pepper – ¼ tsp
  • Salt – as needed
  • Coriander – 1 tbsp
  • Oil – ½ tsp (optional)

👩‍🍳 Method to make Peri-Peri Soya Chunks

  1. Boil the soya chunks in water for 5–7 minutes.
  2. Drain, rinse and squeeze out the water very well. This is important for better texture.
  3. Mix yogurt, peri-peri seasoning, garlic, chilli powder, pepper, lemon juice and salt.
  4. Add the squeezed soya chunks and coat well.
  5. Rest for 15–20 minutes. You can also refrigerate it overnight.
  6. Heat a non-stick pan. Add the marinated soya.
  7. Cook on medium-high heat for 5–7 minutes, stirring occasionally.
  8. For a slightly crispy finish, cook uncovered for another 2–3 minutes. Add ½ tsp oil if desired.
  9. Finish with coriander and a little lemon juice.

❄️ Advanced Prep

Night before: Boil → squeeze → marinate → refrigerate.

At mealtime: Simply pan-cook for about 8 minutes.

💡 For a more filling meal: Add sautéed capsicum, onion and broccoli to the same pan without significantly increasing the calories.

Healthy Peri-Peri Soya Chunks — 30 g Read More »
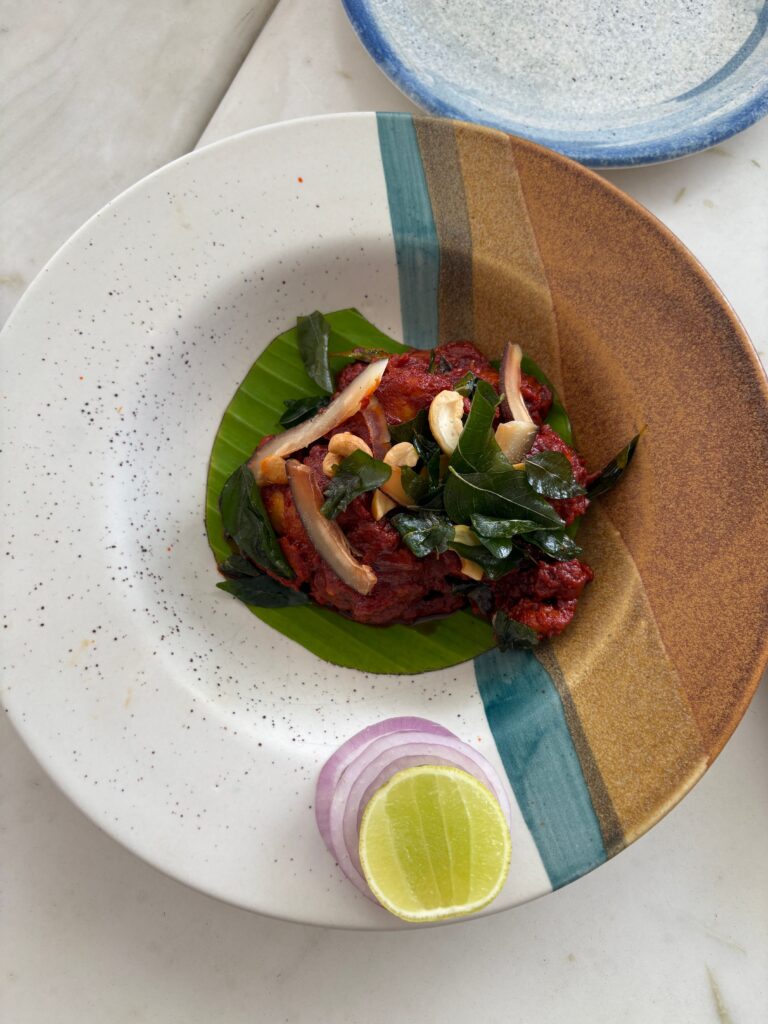
How to Make Pepper Chicken

🌶️ Oil-Free Pepper Chicken

For 2 servings

Ingredients of Pepper Chicken

  • Chicken – bite-sized pieces
  • Thick yogurt – 2 tbsp
  • Ginger-garlic paste – 1 tsp
  • Crushed black pepper – 1–1½ tsp
  • Turmeric – ¼ tsp
  • Cumin powder – ½ tsp
  • Coriander powder – ½ tsp
  • Garam masala – ¼ tsp
  • Lemon juice – 1 tsp
  • Onion – sliced
  • Capsicum – sliced
  • Green chilli – 1–2
  • Curry leaves – 8–10
  • Salt – to taste
  • Fresh coriander

👩‍🍳 How to make Pepper Chicken without oil

  1. Marinate the chicken with yogurt, ginger-garlic paste, spices, lemon juice and salt for 30 minutes or overnight.
  2. Heat a non-stick pan well.
  3. Add curry leaves, green chilli and onion with 2–3 tbsp water. Cook until the onion softens. Add a splash of water whenever it starts sticking.
  4. Add the marinated chicken and cook on medium-high heat for 5–7 minutes.
  5. Cover and cook until the chicken is completely cooked and releases its juices.
  6. Add capsicum and extra crushed pepper. Cook uncovered for 2–3 minutes.
  7. Finish with coriander and lemon juice.

⭐ My preferred version

Use just ½–1 tsp oil rather than completely oil-free. It gives better flavour and helps with browning while still keeping the recipe very light.

Advanced prep: Marinate the chicken overnight + chop the vegetables beforehand. At mealtime, you only need to cook everything together.

How to Make Pepper Chicken Read More »

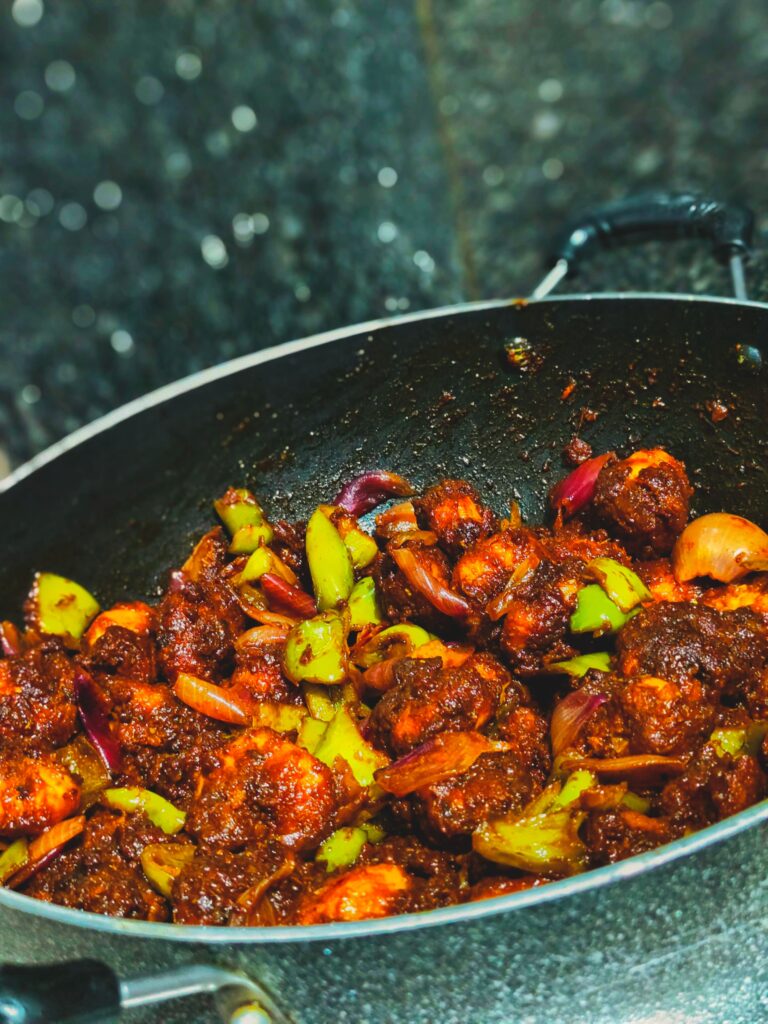
Chilli Garlic Prawns

Perfect for: quick dinner, meal prep, or pairing with rice/roti & salad.

Ingredients of Chilli Garlic Praw

  • Prawns – as required
  • Garlic – 5–6 cloves, finely chopped
  • Green chilli – 1–2, finely chopped
  • Onion – 1 small, sliced
  • Capsicum – ½ cup, sliced
  • Soy sauce – 1 tsp
  • Red chilli flakes – ½ tsp
  • Black pepper – ½ tsp
  • Oregano – ½ tsp
  • Lemon juice – 1 tsp
  • Oil – 1 tsp
  • Salt – as required
  • Coriander/spring onion – for garnish

👩‍🍳 Quick Preparation of Chilli Garlic Praw

  1. Prep ahead: Clean the prawns and marinate with lemon juice, black pepper, chilli flakes and a little salt. Refrigerate.
  2. Heat oil in a pan and sauté garlic + green chilli for 30–40 seconds.
  3. Add onion and capsicum. Stir-fry on high heat for 2–3 minutes.
  4. Add the marinated prawns and cook for 3–5 minutes, until just cooked.
  5. Add soy sauce and oregano. Toss everything together.
  6. Finish with spring onion/coriander and a squeeze of lemon.

💡 Meal-Prep Tip

You can chop the vegetables and prepare the prawn marinade in advance. Keep them separately refrigerated and cook fresh—it takes only about 7–10 minutes.

For a complete meal, pair with a small portion of rice + cucumber salad or stir-fried vegetables.

Chilli Garlic Prawns Read More »

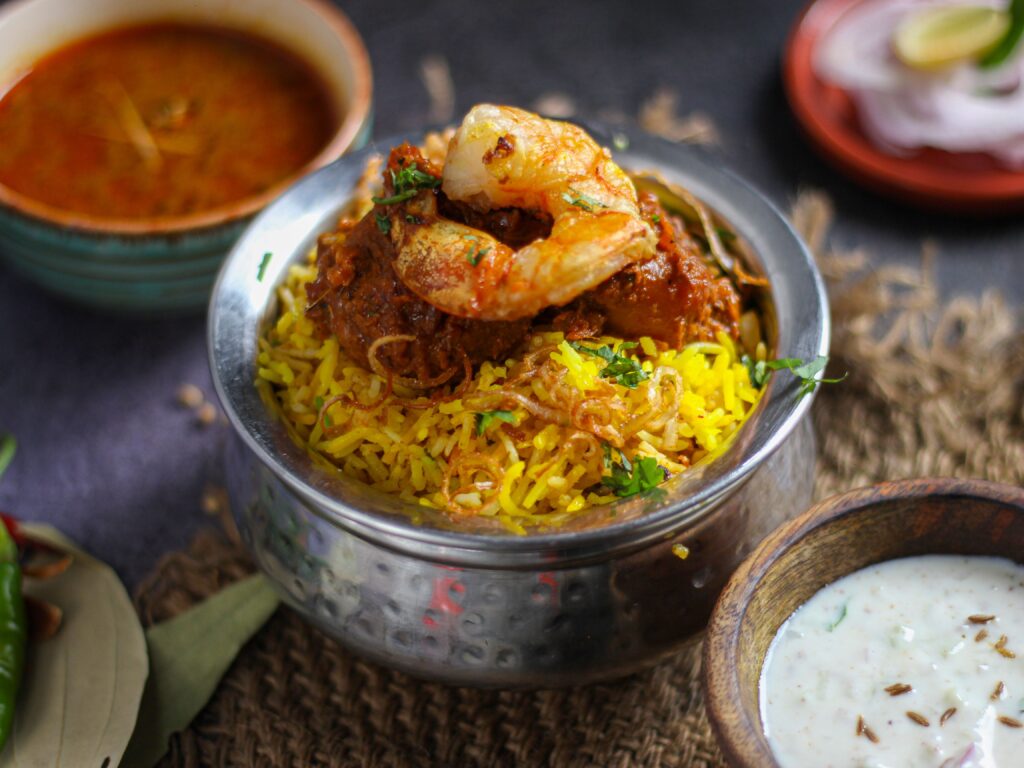
Healthy Prawn Biryani — Easy & Meal-Prep Friendly

A lighter biryani with less oil, plenty of flavour and a good protein base.

Ingredients — 2 servings

  • Prawns – as required
  • Basmati rice – as required
  • Thick dahi – ½ cup
  • Onion – 1 medium, thinly sliced
  • Tomato – 1 small, chopped
  • Ginger-garlic paste – 1 tsp
  • Green chilli – 1, optional
  • Turmeric – ½ tsp
  • Red chilli powder – ½ tsp
  • Coriander powder – 1 tsp
  • Biryani masala – 1 tsp
  • Garam masala – ½ tsp
  • Cumin – ½ tsp
  • Mint + coriander – handful
  • Lemon juice – 1 tsp
  • Oil – 1–2 tsp
  • Salt – as required
  • Water – as required

👩‍🍳 Advanced Prep

1. Marinate the prawns
Mix prawns with dahi, turmeric, chilli powder, ginger-garlic paste, lemon juice and salt. Refrigerate for 20–30 minutes.

2. Prepare the rice
Cook basmati rice until about 80% done. Drain and keep aside.

3. Make the masala
Heat oil, add cumin and onion. Cook until lightly golden. Add tomato, green chilli, coriander powder and biryani masala. Cook until the tomato softens.

4. Add prawns
Add marinated prawns and cook for just 3–5 minutes. Don’t overcook them or they can become rubbery.

5. Layer
Add a layer of rice over the prawn masala. Top with mint, coriander and a pinch of garam masala.

6. Dum cook
Cover tightly and cook on low heat for 5–7 minutes. Rest for another 5 minutes before serving.

🥗 Make it more weight-loss friendly

Serve with cucumber-onion raita + a large vegetable salad rather than adding extra fried onions or ghee.

Meal-prep tip: Keep the rice and prawn masala separately if preparing in advance, then combine and reheat gently. This keeps the prawns much softer.

Healthy Prawn Biryani — Easy & Meal-Prep Friendly Read More »

Indo-Chinese style yogurt salad. For 1 serving:

  • Cucumber – ½ medium, finely chopped
  • Carrot – ½ medium, finely chopped
  • Thick yogurt/curd – ½ cup
  • Soy sauce – ½–1 tsp
  • Chilli flakes – ¼–½ tsp
  • Oregano – ½ tsp
  • Black pepper – ¼ tsp
  • Lemon juice – ½–1 tsp
  • Garlic – ½ small clove, finely grated (optional)
  • Coriander or spring onion – 1 tbsp

🥣 Dressing

Mix yogurt + soy sauce + chilli flakes + oregano + black pepper + lemon juice + garlic until smooth.

Add the cucumber and carrot, mix well and chill for 10 minutes.

For extra crunch: add roasted sesame seeds on top.

💡 Best combination: cucumber + carrot + creamy yogurt + soy sauce + chilli flakes + oregano + sesame. It gives a creamy, tangy, spicy Indo-Chinese flavour.

Indo-Chinese style yogurt salad. For 1 serving: Read More »

Bombay-Style Vada Pav Besan Cheela Wrap

Serves: 2 | Makes: 2 wraps

🟡 For the Besan Cheela

  • ½ cup besan
  • 2 tbsp finely chopped onion
  • 1 tbsp coriander
  • 1 green chilli, finely chopped
  • ¼ tsp turmeric
  • ½ tsp ajwain
  • ½ tsp red chilli powder
  • Salt to taste
  • Water as required
  • 1 tsp oil for cooking

Method:
Mix everything into a smooth, pourable batter. Rest for 5–10 minutes. Make 2 thin cheelas on a non-stick pan and cook until lightly crisp on both sides.

🥔 Vada Filling

  • 1 cup boiled potato, mashed
  • ½ cup boiled green moong dal
  • ½ tsp mustard seeds
  • ½ tsp cumin
  • 1 tsp grated ginger
  • 1–2 green chillies
  • ½ tsp turmeric
  • ½ tsp red chilli powder
  • ½ tsp garam masala
  • Coriander
  • Salt
  • 1 tsp oil

Sauté the spices, add potato and moong, and cook for 2–3 minutes. Shape into small patties and pan-sear or air-fry until golden.

🧄 Vada Pav Garlic Chutney

Blend:

  • 2 tbsp roasted peanuts
  • 2 garlic cloves
  • ½ tsp red chilli powder
  • Pinch of cumin
  • Salt
  • A little water

🌯 Assemble

  1. Place the besan cheela flat.
  2. Spread a little green chutney + hung curd.
  3. Add a thin layer of garlic-peanut chutney.
  4. Add shredded cabbage, onion and tomato.
  5. Place the vada filling/patties in the centre.
  6. Sprinkle with coriander and a little dry vada pav masala.
  7. Roll tightly and serve warm.

⭐ Best Healthy Combination

Besan cheela + moong-potato vada + peanut-garlic chutney + crunchy vegetables = a satisfying, high-fibre, protein-rich version of your favourite Bombay Vada Pav without deep frying. 🌶️💛

Bombay-Style Vada Pav Besan Cheela Wrap Read More »

Beetroot Ginger Shot

Ingredients (Makes 2 shots)

  • ½ medium beetroot, peeled and chopped (about 50–60 g)
  • 1-inch fresh ginger
  • Juice of ½ lemon
  • ¼ tsp black pepper (optional, improves nutrient absorption)
  • A pinch of black salt or pink salt (optional)
  • 30–50 ml water (if needed for blending)

Method

  1. Blend the beetroot, ginger, lemon juice, and water until smooth.
  2. Strain if you prefer a smoother shot (or leave unstrained for more fiber).
  3. Stir in black pepper and a pinch of salt if using.
  4. Serve immediately.

Nutritional Benefits

  • ❤️ Beetroot: Rich in natural nitrates that support blood flow, stamina, and heart health.
  • 🫚 Ginger: Helps reduce bloating, supports digestion, and has anti-inflammatory properties.
  • 🍋 Lemon: Provides vitamin C and enhances iron absorption from beetroot.
  • 🌿 Black Pepper: May improve the absorption of beneficial plant compounds.

Optional Weight-Loss Version

Add:

  • 2–3 fresh mint leaves
  • A pinch of roasted cumin powder

Beetroot Ginger Shot Read More »

Golden Harmony Herbal Tea

Ingredients:

  • 1 inch fresh ginger (sliced)
  • ½ tsp turmeric powder (or fresh turmeric)
  • 1 small cinnamon stick
  • ½ tsp fennel seeds
  • A few strands of saffron

Method:

  1. Boil 2 cups of water.
  2. Add ginger, turmeric, cinnamon, and fennel.
  3. Simmer for 8–10 minutes.
  4. Turn off the heat and add saffron.
  5. Steep for 2 minutes and strain.

Benefits:

  • Supports digestion
  • Anti-inflammatory
  • Warming and comforting

Golden Harmony Herbal Tea Read More »

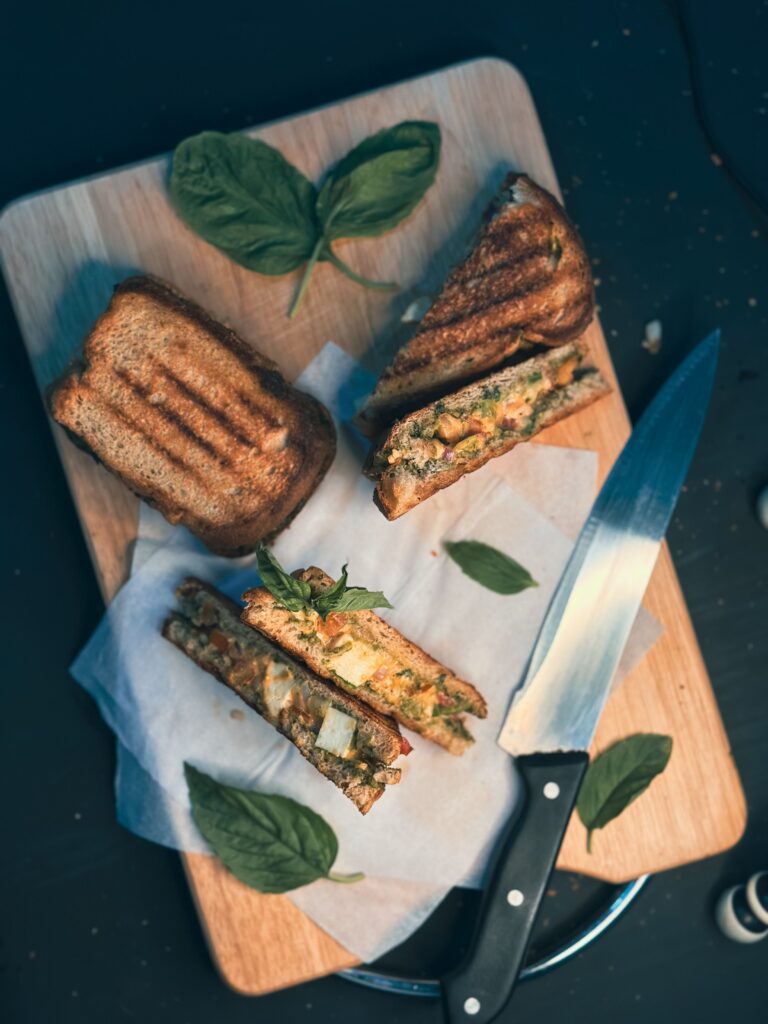
No-Bread Paneer Moong Dal Sandwich (High-Protein & Healthy)

🌿 Ingredients (Serves 2)

For the Moong Dal “Bread”:

  • 1 cup yellow moong dal (soaked for 4–5 hours)
  • 1 inch ginger
  • 2 green chilies (optional)
  • ¼ tsp turmeric
  • ½ tsp cumin seeds
  • Salt to taste
  • 2 tbsp water (if needed)

For the Paneer Filling:

  • 100 g low-fat paneer, crumbled
  • 1 small onion, finely chopped
  • 1 small tomato, deseeded & finely chopped
  • 2 tbsp grated carrot
  • 2 tbsp capsicum, finely chopped
  • 2 tbsp coriander leaves
  • ½ tsp black pepper
  • ½ tsp roasted cumin powder
  • ½ tsp chaat masala (optional)
  • Salt to taste
  • 1 tsp lemon juice

👩‍🍳 Method

  1. Drain the soaked moong dal.
  2. Blend it with ginger, green chilies, turmeric, cumin, salt, and just enough water to make a thick batter.
  3. Heat a non-stick pan and lightly grease it.
  4. Spread a ladle of batter into a thick square or circle (about ½ cm thick).
  5. Cook on medium heat for 3–4 minutes, flip, and cook another 2–3 minutes. Make 4 pieces.
  6. Mix all the paneer filling ingredients in a bowl.
  7. Place the filling between two moong dal slices like a sandwich.
  8. Toast the sandwich on the pan for 1–2 minutes per side until crisp.
  9. Serve hot with mint yogurt dip or green chutney.

No-Bread Paneer Moong Dal Sandwich (High-Protein & Healthy) Read More »

Healthy Fresh Apple Juice

Ingredients

  • 4–5 medium apples (sweet varieties like Fuji Apple, Gala Apple, or Honeycrisp Apple work well)
  • ½–1 cup cold water (optional, for blending)
  • 1 tsp lemon juice (optional, helps prevent browning)
  • A small piece of fresh ginger (optional)

Method (Using a Blender)

  1. Wash the apples thoroughly.
  2. Remove the core and seeds. Keep the peel on for extra fiber and nutrients.
  3. Chop the apples into chunks.
  4. Add the apples and water to a blender. Blend until smooth.
  5. Strain through a fine mesh sieve or cheesecloth if you prefer a smoother juice. For maximum fiber, drink it unstrained as a smoothie-style juice.
  6. Stir in lemon juice and/or ginger if desired.
  7. Serve immediately over ice.

Using a Juicer

  1. Wash and core the apples.
  2. Feed them through the juicer.
  3. Add lemon juice if desired.
  4. Drink immediately for the best flavor and nutrient retention.

Tips for a Healthier Drink

  • Avoid adding sugar; ripe apples are naturally sweet.
  • Leave the peel on to retain antioxidants and fiber.
  • Mix with vegetables such as carrots or cucumber for a lower-sugar juice.
  • Consume fresh rather than storing for long periods, as vitamin content gradually decreases after juicing.

For the healthiest option, blending and drinking the apples unstrained preserves much more fiber than traditional clear apple juice.

Healthy Fresh Apple Juice Read More »