Fitpiq Team

Our dedicated team at Fitpiq works with passion and zeal to help you achieve your best possible results.

As the motto of Fitpiq says, ‘choose to be fit, we are a platform that aims to promote health and well-being in an effortless manner.


Help people to make their nutrition and fitness a priority. By choosing to be fit, we are improving the quality of life, and we at Fitpiq thrive for that.

Fitpiq Team works wholeheartedly and sincerely to help you achieve your health goals in the best possible ways.


We have had a wonderful expedition reaching where we are today.

Now feel confident to provide you with professional and helpful solutions to your problems and queries in a time-effective way.


We have the vision to promote healthy and healthful eating and lifestyle practices so that everyone can attain their real-life goals.

Our team works passionately and with zeal to assist you on each and every step of the journey to reach your health objective.


Fitpiq Team believes in making health a priority for people and works endlessly towards it.

We think that achieving health goals should not feel like a burden, but it should feel like an amazing venture.


Our team thinks unique, thrives on excellence and we are go-getters. Our team will provide you with guidance and support at every step,

We make sure that our team and you work as a “WE” to help you achieve your goals.


Our objective is to understand your present health and fitness efficacy and educate what is best for you and your body.

So that we together can chalk out your health and fitness journey.


How to Make High-Protein Mutter Paneer Cheela Wrap

Mutter Paneer Chilla Wrap A healthy and filling roll made with a peas & paneer wrap, crunchy vegetables, and your choice of sauce.

Ingredients of Mutter Paneer Chilla Wrap

For the Mutter Paneer Chilla Wrap

  • Green peas – boiled
  • Paneer
  • Besan – for binding
  • Ginger
  • Green chilli
  • Cumin powder
  • Red chilli powder
  • Black pepper
  • Chaat masala
  • Salt
  • Water, as required

For the Vegetable Filling

  • Cabbage – finely shredded
  • Carrot – grated
  • Capsicum – thinly sliced
  • Onion – thinly sliced
  • Black pepper
  • Chaat masala
  • Lemon juice
  • Salt

For the Sauce – Choose Any One

Option 1: Homemade Yogurt Sauce

  • Thick hung curd/Greek yogurt
  • Grated garlic
  • Coriander or mint
  • Chilli flakes
  • Black pepper
  • Lemon juice
  • Salt

Option 2: Ready-Made Sauce

  • Mint chutney
  • Green chutney
  • Chilli-garlic sauce
  • Sandwich sauce

Option 3: Mayonnaise

  • Regular mayonnaise
  • Light mayonnaise
  • Eggless mayonnaise

Method to Make Mutter Paneer Chilla Wrap at Home

1. Make the wrap batter
Blend boiled peas, paneer, ginger and green chilli into a smooth paste. Add besan, cumin powder, red chilli powder, black pepper, chaat masala and salt. Mix into a thick, spreadable batter.

2. Cook the wrap
Heat a non-stick tawa and lightly grease it. Spread the batter thinly like a cheela. Cook until golden and easy to release. Flip and cook the other side.

3. Prepare the vegetables
Mix cabbage, carrot, capsicum and onion with black pepper, chaat masala, lemon juice and salt. Keep them crunchy.

4. Assemble
Place the Mutter Paneer wrap on a plate. Spread your chosen sauce over it. Add the crunchy vegetables and roll tightly.

5. Make it crisp
Toast the roll on a tawa from both sides until lightly golden and crisp.

💡 Advanced Prep

The Mutter Paneer batter and homemade sauce can be prepared in advance and refrigerated. Keep the vegetables separately and assemble the roll fresh.

https://www.instagram.com/reel/DcskxPsCM9j/?igsi=a25rdWFhN2U4cWZk
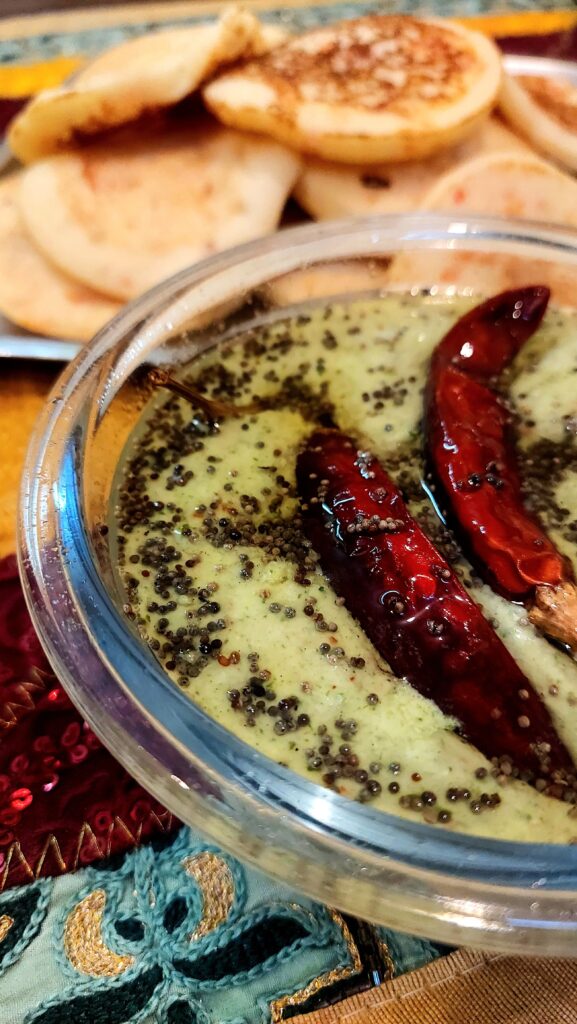
Idhal Kadhi

🌿 Idhal Kadhi

Ingredients of Idhai Kadhi

For the Idhal Rolls

  • 8–10 kochai (colocasia) leaves
  • 1 cup urad dal, soaked for 4–5 hours
  • 1–2 green chillies
  • 1-inch ginger
  • 3–4 garlic cloves
  • ½ tsp turmeric
  • 1 tsp red chilli powder
  • 1 tsp coriander powder
  • ½ tsp cumin powder
  • ½ tsp ajwain
  • Salt to taste
  • 1–2 tbsp water, as needed

For the Kadhi

  • 2 tomatoes, finely chopped or pureed
  • 1 cup curd
  • 1–1½ tbsp besan
  • 2–3 garlic cloves, chopped
  • ½ tsp cumin
  • ½ tsp mustard seeds
  • 1–2 dry red chillies
  • ½ tsp turmeric
  • ½–1 tsp red chilli powder
  • ½ tsp coriander powder
  • Salt to taste
  • 2–3 cups water
  • 1 tbsp oil

Method to make idhai kadhi

1. Prepare the urad dal paste

  1. Drain the soaked urad dal.
  2. Grind it with green chilli, ginger, garlic and a little water into a thick, smooth paste.
  3. Add turmeric, chilli powder, coriander powder, cumin powder, ajwain and salt.
  4. Mix well.

2. Make the kochai rolls

  1. Wash the kochai leaves thoroughly and pat them dry.
  2. Place one leaf flat, with the vein side facing up.
  3. Spread a thin layer of the urad dal-spice paste evenly over the leaf.
  4. Place another leaf on top and repeat the process.
  5. Roll the leaves tightly from one end to the other, tucking the sides in as you roll.
  6. Steam the rolls for 20–25 minutes, or until the dal mixture is completely cooked.
  7. Allow them to cool slightly, then cut into bite-sized slices.

3. Fry the Idhal pieces

  1. Heat a little oil in a pan.
  2. Shallow-fry or deep-fry the sliced rolls until they become golden and crisp on the outside.
  3. Keep them aside.

4. Prepare the tomato kadhi

  1. Whisk curd and besan together until completely smooth.
  2. Add turmeric, chilli powder, coriander powder, salt and water. Mix well.
  3. Heat oil and add mustard seeds and cumin.
  4. Add dry red chillies and chopped garlic.
  5. Add the tomatoes and cook until soft and the oil begins to separate.
  6. Lower the flame and add the prepared curd-besan mixture.
  7. Stir continuously while bringing it to a gentle boil so the curd does not split.
  8. Simmer for 8–10 minutes, adding water if needed to get a medium-thick kadhi consistency.

5. Add the Idhal

  • Gently add the fried kochai rolls to the hot kadhi.
  • Simmer for 2–3 minutes so the rolls absorb the flavour while still retaining some texture.
  • Turn off the heat and let it rest for 5 minutes before serving.

🌿 Serving

Serve hot with steamed rice, jeera rice or roti. The combination of tangy tomato kadhi + spicy urad dal kochai rolls makes this a delicious traditional-style meal.

https://www.instagram.com/reel/Dcd5krKSgda/?igsi=MWk3NDlkY2k0ejR0aw==

Suji–Rice Idli Sandwich

Crispy Layered Suji–Rice Idli Sandwich

A healthy twist on classic idli, layered with spicy vegetable potato masala and finished on the tawa for a delicious crispy texture.

Ingredients

For the Suji–Rice Idli Batter

  • 1 cup suji/rava
  • ½ cup cooked rice
  • ½ cup yogurt
  • Water as required
  • Salt to taste
  • ½ tsp Eno

For the Potato Masala

  • 2 boiled potatoes, mashed
  • 1 onion, finely chopped
  • 1 carrot, grated
  • ½ capsicum, finely chopped
  • 1 green chilli, finely chopped
  • Fresh coriander, chopped
  • ½ tsp mustard seeds
  • ½ tsp cumin seeds
  • Curry leaves
  • ¼ tsp turmeric
  • ½ tsp red chilli powder
  • ½ tsp coriander powder
  • ½ tsp garam masala
  • Salt to taste
  • 1 tsp oil

Method

  1. Prepare the batter: Blend cooked rice, yogurt and a little water until smooth. Mix with suji and salt. Add water as required to make a thick but pourable batter. Rest for 15–20 minutes.
  2. Prepare the potato masala: Heat 1 tsp oil. Add mustard seeds, cumin seeds and curry leaves. Once they crackle, add onion, green chilli, carrot and capsicum. Sauté until slightly soft.
  3. Add turmeric, red chilli powder, coriander powder, garam masala and salt. Add mashed potatoes and mix well. Finish with fresh coriander.
  4. Add Eno: Just before steaming, add ½ tsp Eno to the prepared batter. Sprinkle 1–2 tsp water over it and gently mix in one direction. Do not overmix.
  5. First layer: Grease a round steel plate/thali that fits inside your steamer. Pour half of the batter onto the plate and spread evenly.
  6. Steam for 5–7 minutes, just until the first layer is set.
  7. Add the filling: Carefully spread the potato masala evenly over the steamed first layer.
  8. Second layer: Pour the remaining batter over the potato masala and gently spread it to completely cover the filling.
  9. Steam again for 10–12 minutes, or until the top layer is fully cooked.
  10. Allow it to rest for 5 minutes, then carefully remove it from the plate and cut into squares or wedges.

Make It Crispy

  1. Heat a non-stick tawa and lightly brush it with oil.
  2. Place the idli sandwich pieces on the tawa.
  3. Cook on medium-low heat for 2–3 minutes until golden and crisp underneath.
  4. Flip carefully and crisp the other side.
  5. For extra crunch, sprinkle a few sesame seeds on the tawa before placing the idli pieces.

Serve hot with mint-coriander chutney, tomato chutney or a yogurt dip.

Tip: If you are making two layers, add Eno to the batter immediately before starting the steaming process so the batter stays light and fluffy.

https://www.instagram.com/reel/DZ2tbAojMV5/?igsi=MTV2N2hkd24zZjF3ZQ==

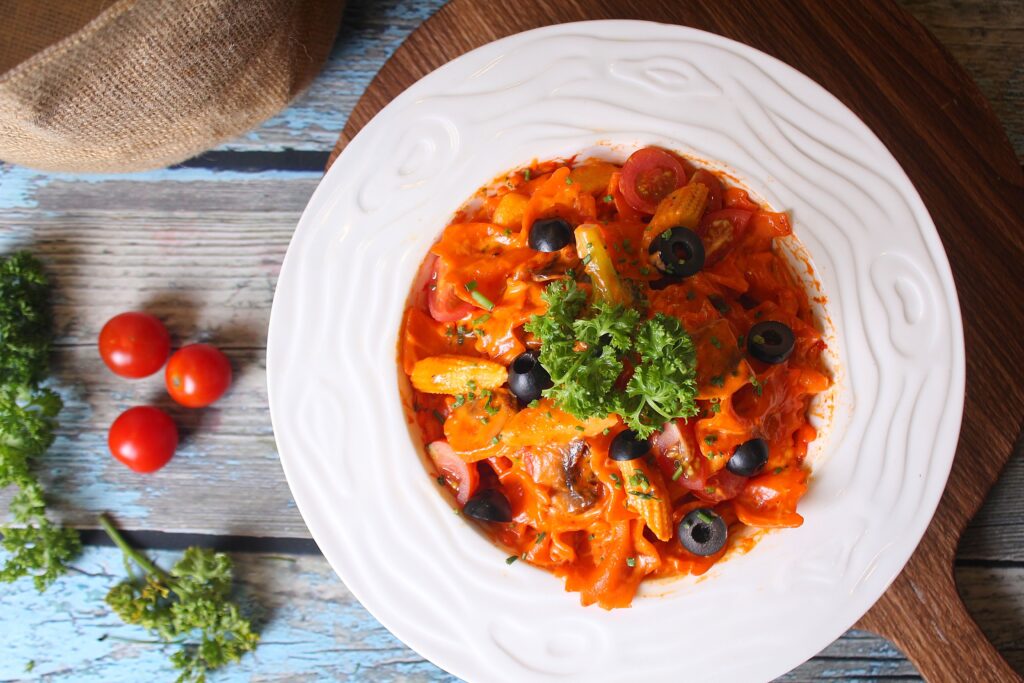
Vegetable and Paneer Pasta

Serves: 1

Ingredients

  • Pasta – 30 g dry
  • Paneer – 75 g
  • Tomatoes – 2 medium
  • Garlic – 3 cloves
  • Onion – ¼ small
  • Capsicum – ¼ cup
  • Thick yogurt – 1 tbsp
  • Chilli flakes – ½ tsp
  • Oregano – ½ tsp
  • Black pepper – ¼ tsp
  • Kashmiri chilli powder – ½ tsp
  • Salt – to taste
  • Cheese – 10 g
  • Oil – ½ tsp

👩‍🍳 Method

  1. Cook the pasta until al dente and keep aside.
  2. Roughly chop tomatoes, onion and garlic.
  3. Heat ½ tsp oil and sauté garlic, onion and tomatoes until soft.
  4. Add Kashmiri chilli powder, chilli flakes, oregano and pepper.
  5. Cool slightly and blend the tomato mixture + paneer + yogurt into a smooth, creamy paste.
  6. Return the sauce to the pan and cook on low heat for 2–3 minutes.
  7. Add the cooked pasta and toss well. Add a little pasta water if needed.
  8. Finish with 10 g grated cheese and oregano.

💡 For a smoother sauce

Soak the paneer in warm water for 5–10 minutes before blending. This makes the paneer easier to blend and gives the sauce a much creamier texture.

Advanced prep: Make the paneer-tomato sauce in advance and refrigerate. Cook fresh pasta and combine when ready.

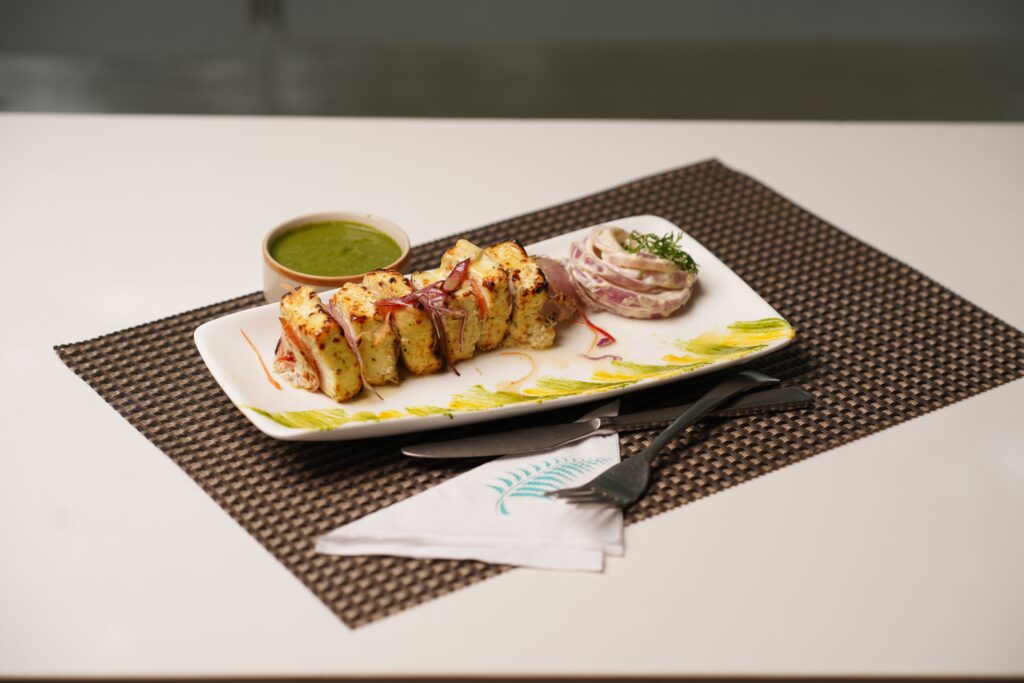
How to Make Paneer Reshmi Kebab

Paneer Reshmi Kebab

Makes: 6–8 small kebabs

Ingredients of Paneer Reshmi Kebab

  • Paneer – 100 g, grated/crumbled
  • Hung curd – 2 tbsp
  • Besan – 1 tbsp
  • Capsicum – 2 tbsp, very finely chopped
  • Carrot – 2 tbsp, very finely chopped
  • Onion – 1 tbsp, very finely chopped
  • Green chilli – 1, finely chopped
  • Ginger-garlic paste – ½ tsp
  • Kasuri methi – ½ tsp
  • Roasted cumin powder – ½ tsp
  • Garam masala – ¼ tsp
  • Black pepper – ¼ tsp
  • Chaat masala – ¼ tsp
  • Salt – to taste
  • Oil – ½–1 tsp for cooking

👩‍🍳 Method

  1. Dry roast the besan in a pan on low heat for 2–3 minutes. Let it cool.
  2. In a bowl, combine crumbled paneer + hung curd.
  3. Add finely chopped capsicum, carrot, onion, green chilli and ginger-garlic paste.
  4. Add roasted besan and all the spices.
  5. Mix well until you get a thick, soft mixture.
  6. Refrigerate for 20–30 minutes. This makes shaping much easier.
  7. Shape into small flat kebabs using slightly wet hands.
  8. Heat a non-stick pan and brush with a little oil.
  9. Cook the kebabs on medium-low heat, gently turning them until golden on both sides.
  10. Serve hot with mint-yogurt chutney and salad.

❄️ Advanced Prep

You can prepare the complete kebab mixture the night before and refrigerate it. Shape and cook when needed.

Important: Make sure the vegetables are very finely chopped and don’t add excess moisture. If the mixture feels loose, add another ½–1 tsp roasted besan rather than adding lots of flour.

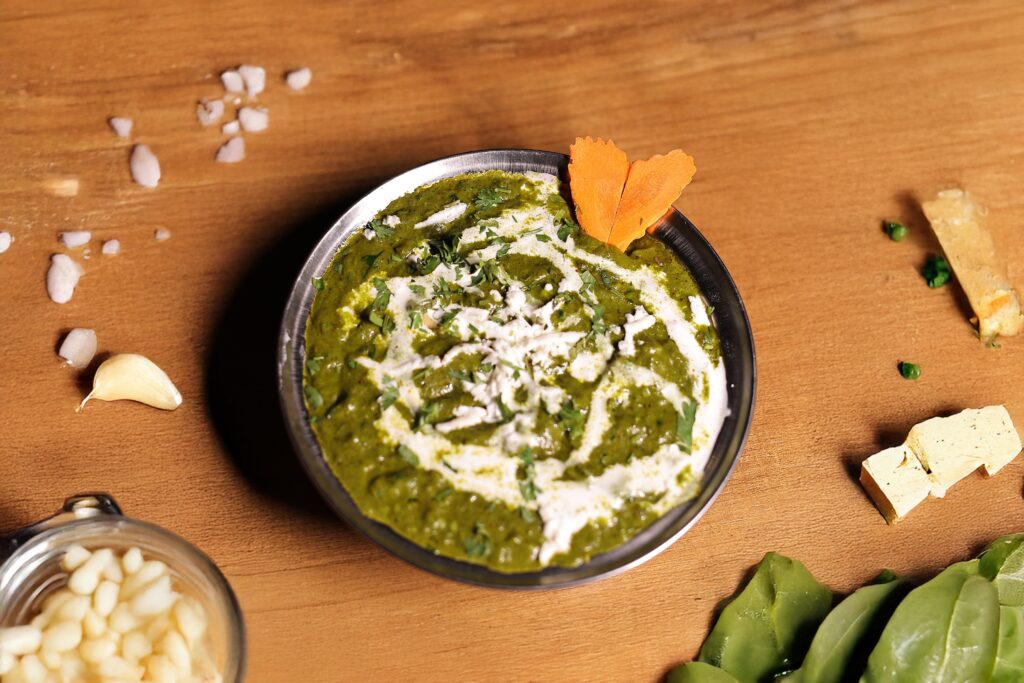
Cheesy Garlic Bhaji with Pav

🧄🌿 Garlic Leaves Palak with Cheese & Pav

Serves: 1

Ingredients of Cheesy Garlic Bhaji with Pav

  • Palak – 2 cups
  • Garlic leaves – 1–1½ cups, finely chopped
  • Garlic cloves – 6–7, finely chopped
  • Green chilli – 1–2
  • Ginger – ½ inch
  • Cumin – ¼ tsp
  • Turmeric – ¼ tsp
  • Coriander powder – ½ tsp
  • Black pepper – ¼ tsp
  • Garam masala – ¼ tsp
  • Cream – 1 tsp
  • Cheese – 15–20 g, grated
  • Oil – ½ tsp
  • Salt – to taste
  • Pav – 1–2

👩‍🍳 Method og Making Cheesy Garlic Bhaji with Pav at home

  1. Make the palak paste: Blanch palak for 1–2 minutes. Blend it with green chilli + ginger and a little water until smooth.
  2. Heat ½ tsp oil in a pan.
  3. Add cumin and chopped garlic cloves. Sauté on low heat until fragrant.
  4. Add the chopped garlic leaves and sauté for 2–3 minutes.
  5. Add turmeric, coriander powder, black pepper and salt.
  6. Pour in the palak-chilli-ginger paste and cook for 3–4 minutes.
  7. Lower the flame and add cream + grated cheese together. Mix until the cheese melts and the palak becomes creamy.
  8. Finish with garam masala and serve hot with toasted pav.

Advanced prep: Make the palak + chilli + ginger paste in advance and refrigerate. Chop the garlic and garlic leaves beforehand. At mealtime, sauté → add paste → add cream & cheese → serve.

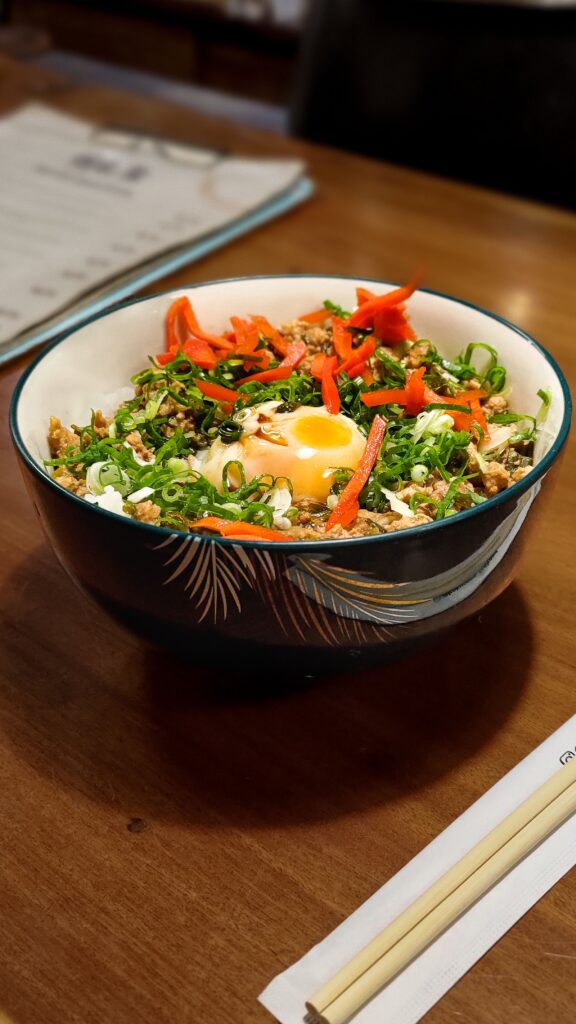
How to Make Scrambled Egg Rice Bowl

Serves: 1 | Quick & healthy

Ingredients of Scrambled Egg Rice Bowl

  • Cooked rice – 1 katori
  • Eggs – 2
  • Onion – ¼, finely chopped
  • Capsicum – ¼, finely chopped
  • Carrot – 2 tbsp, finely chopped
  • Spring onion – 1 tbsp
  • Garlic – ½ tsp, finely chopped
  • Soy sauce – 1 tsp
  • Chilli flakes – ½ tsp
  • Black pepper – ¼ tsp
  • Salt – as needed
  • Oil – ½ tsp
  • Coriander or spring onion – for garnish

👩‍🍳 Method

  1. Heat ½ tsp oil in a non-stick pan.
  2. Add garlic and onion. Sauté for 1–2 minutes.
  3. Add carrot and capsicum. Cook on high heat for 2–3 minutes so they remain slightly crunchy.
  4. Push the vegetables to one side and crack in 2 eggs.
  5. Scramble the eggs until almost cooked.
  6. Add 1 katori cooked rice, soy sauce, chilli flakes and pepper.
  7. Toss everything together on high heat for 2–3 minutes.
  8. Finish with spring onion and coriander.

🔥 Advanced Prep of Scrambled Egg Rice Bowl

You can prepare the rice + chopped vegetables in advance and refrigerate them. At mealtime, simply stir-fry the vegetables, add eggs and rice, and you’re done in 5–7 minutes.

Tip: For a more weight-loss-friendly version, use plenty of vegetables and keep the rice to 1 katori cooked rice rather than increasing the rice portion.

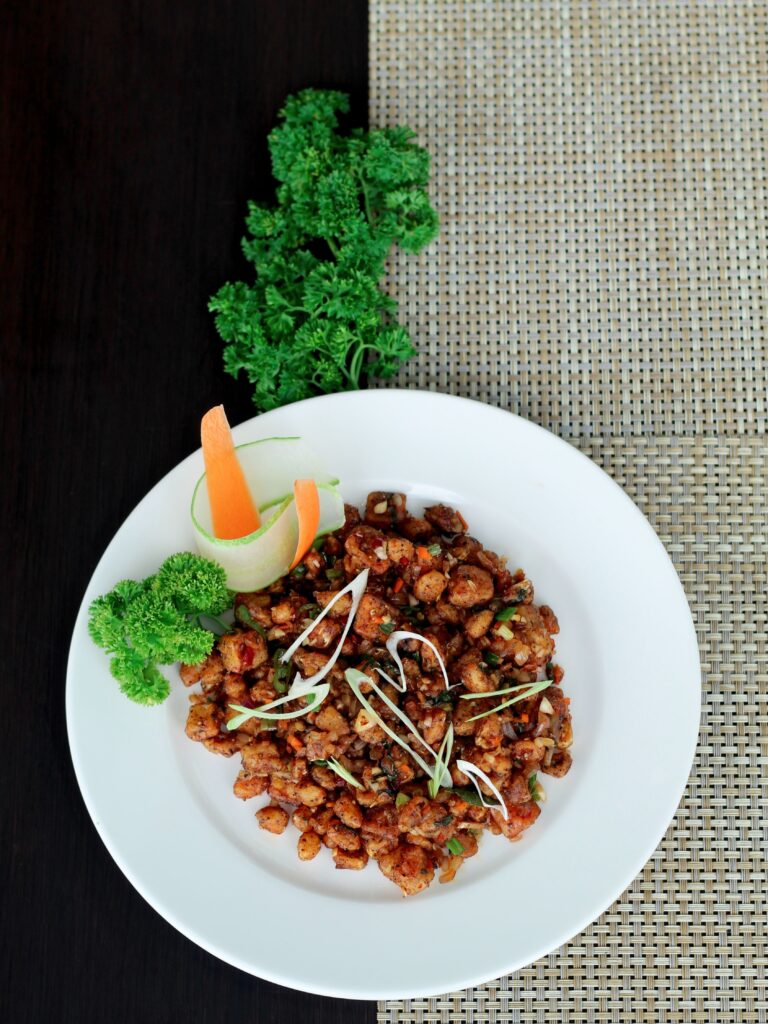
Healthy Peri-Peri Soya Chunks — 30 g

Makes: 1 serving
Soya chunks: 30 g dry

Ingredients of Peri-Peri Soya Chunks

  • Soya chunks – 30 g
  • Thick yogurt – 1 tbsp
  • Peri-peri seasoning – 1 tsp
  • Kashmiri chilli powder – ¼ tsp
  • Garlic paste – ½ tsp
  • Lemon juice – 1 tsp
  • Black pepper – ¼ tsp
  • Salt – as needed
  • Coriander – 1 tbsp
  • Oil – ½ tsp (optional)

👩‍🍳 Method to make Peri-Peri Soya Chunks

  1. Boil the soya chunks in water for 5–7 minutes.
  2. Drain, rinse and squeeze out the water very well. This is important for better texture.
  3. Mix yogurt, peri-peri seasoning, garlic, chilli powder, pepper, lemon juice and salt.
  4. Add the squeezed soya chunks and coat well.
  5. Rest for 15–20 minutes. You can also refrigerate it overnight.
  6. Heat a non-stick pan. Add the marinated soya.
  7. Cook on medium-high heat for 5–7 minutes, stirring occasionally.
  8. For a slightly crispy finish, cook uncovered for another 2–3 minutes. Add ½ tsp oil if desired.
  9. Finish with coriander and a little lemon juice.

❄️ Advanced Prep

Night before: Boil → squeeze → marinate → refrigerate.

At mealtime: Simply pan-cook for about 8 minutes.

💡 For a more filling meal: Add sautéed capsicum, onion and broccoli to the same pan without significantly increasing the calories.

How to Make Pepper Chicken

🌶️ Oil-Free Pepper Chicken

For 2 servings

Ingredients of Pepper Chicken

  • Chicken – bite-sized pieces
  • Thick yogurt – 2 tbsp
  • Ginger-garlic paste – 1 tsp
  • Crushed black pepper – 1–1½ tsp
  • Turmeric – ¼ tsp
  • Cumin powder – ½ tsp
  • Coriander powder – ½ tsp
  • Garam masala – ¼ tsp
  • Lemon juice – 1 tsp
  • Onion – sliced
  • Capsicum – sliced
  • Green chilli – 1–2
  • Curry leaves – 8–10
  • Salt – to taste
  • Fresh coriander

👩‍🍳 How to make Pepper Chicken without oil

  1. Marinate the chicken with yogurt, ginger-garlic paste, spices, lemon juice and salt for 30 minutes or overnight.
  2. Heat a non-stick pan well.
  3. Add curry leaves, green chilli and onion with 2–3 tbsp water. Cook until the onion softens. Add a splash of water whenever it starts sticking.
  4. Add the marinated chicken and cook on medium-high heat for 5–7 minutes.
  5. Cover and cook until the chicken is completely cooked and releases its juices.
  6. Add capsicum and extra crushed pepper. Cook uncovered for 2–3 minutes.
  7. Finish with coriander and lemon juice.

⭐ My preferred version

Use just ½–1 tsp oil rather than completely oil-free. It gives better flavour and helps with browning while still keeping the recipe very light.

Advanced prep: Marinate the chicken overnight + chop the vegetables beforehand. At mealtime, you only need to cook everything together.

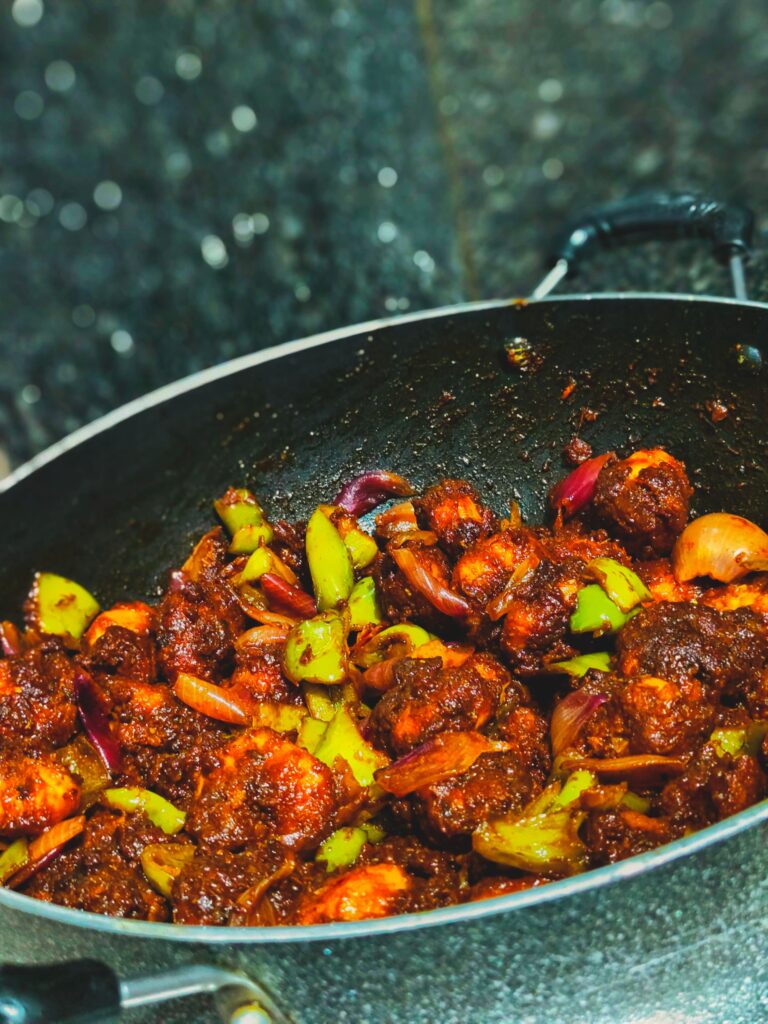
Chilli Garlic Prawns

Perfect for: quick dinner, meal prep, or pairing with rice/roti & salad.

Ingredients of Chilli Garlic Praw

  • Prawns – as required
  • Garlic – 5–6 cloves, finely chopped
  • Green chilli – 1–2, finely chopped
  • Onion – 1 small, sliced
  • Capsicum – ½ cup, sliced
  • Soy sauce – 1 tsp
  • Red chilli flakes – ½ tsp
  • Black pepper – ½ tsp
  • Oregano – ½ tsp
  • Lemon juice – 1 tsp
  • Oil – 1 tsp
  • Salt – as required
  • Coriander/spring onion – for garnish

👩‍🍳 Quick Preparation of Chilli Garlic Praw

  1. Prep ahead: Clean the prawns and marinate with lemon juice, black pepper, chilli flakes and a little salt. Refrigerate.
  2. Heat oil in a pan and sauté garlic + green chilli for 30–40 seconds.
  3. Add onion and capsicum. Stir-fry on high heat for 2–3 minutes.
  4. Add the marinated prawns and cook for 3–5 minutes, until just cooked.
  5. Add soy sauce and oregano. Toss everything together.
  6. Finish with spring onion/coriander and a squeeze of lemon.

💡 Meal-Prep Tip

You can chop the vegetables and prepare the prawn marinade in advance. Keep them separately refrigerated and cook fresh—it takes only about 7–10 minutes.

For a complete meal, pair with a small portion of rice + cucumber salad or stir-fried vegetables.