Weight loss for Diabetes – Recipes

For people with diabetes, and want weight loss, so there are certain foods that should be limited.


These foods can cause spikes in blood sugar or contain unhealthy fats.

like white rice or white pasta, apple sauce, jam, and some canned fruits fried foods, or foods high in trans fats or saturated fats.


Diabetes is a prolonged insulin resistance condition. It is critical to eat right to improve/reverse the diabetic condition.


Follow these easy recipes to drop blood sugar levels and eat right.

One of the best ways to manage diabetes is to lose extra weight. When it comes to diet,

the key is to strike the right balance between carbohydrates, fats, and protein.


“Cutting the carbohydrates is the No. 1 way to lose weight,”. Carbohydrates cause the pancreas to release insulin.”

They should make up no more than 45% or so of daily calories for most people with diabetes.


Consult a doctor, because your target might differ based on your weight, activity level, and which medicines you take.


When choosing carbs, pick ones that won’t make your blood sugar spike — high-fiber fruits and vegetables, and whole grains.

Skip the pastries and white bread. Another goal is to lower your daily calorie count, but not by skimping on protein.


You need protein to maintain muscle, which helps you maximize your calorie-burning potential.


At least 20% to 30% of your plate should be made up of lean protein sources like fish, tofu, and skinless grilled chicken breast.

Weight loss for Diabetes goals: Make losing weight with diabetes easier by setting S.M.A.R.T. goals.

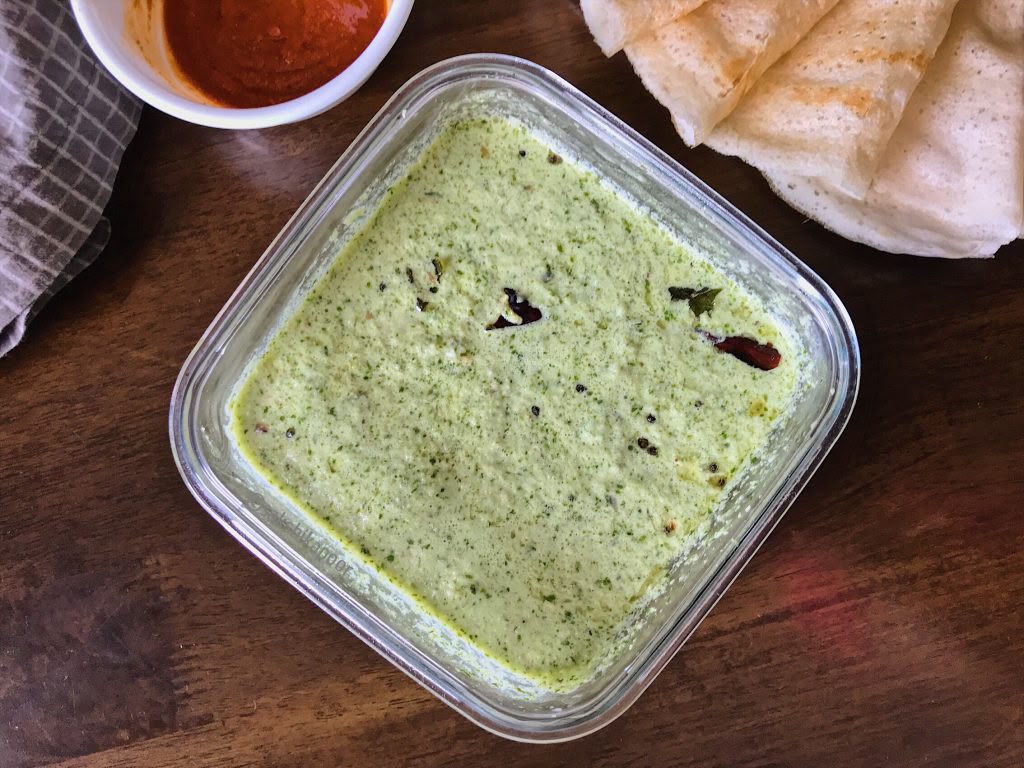
Dhania, Coconut & Peanut Chutney

Two versions: with roasted coconut flakes and without roasted coconut flakes. Both versions include a flavourful South Indian-style tadka.

Version 1: With Roasted Coconut Flakes

Ingredients:

  • 1 cup fresh coriander leaves (dhania)
  • ½ cup grated coconut or coconut flakes (fresh or packaged)
  • ¼ cup peanuts
  • 1 tbsp chana dal
  • 1–2 green chillies
  • ½ inch ginger
  • Small piece of tamarind (imli) – optional
  • Salt to taste
  • Water as required

For tempering (Tadka):

  • 1 tsp oil
  • 1 tsp urad dal
  • ½ tsp mustard seeds
  • 1–2 dry red chillies
  • 6–8 curry leaves

Method:

  1. Heat a pan and dry roast the peanuts until crunchy. Keep aside.
  2. In the same pan, roast the chana dal until lightly golden.
  3. Add coconut flakes and roast until slightly golden and aromatic.
  4. Add coriander leaves, green chillies and ginger. Lightly sauté for a few seconds until the coriander wilts slightly.
  5. Allow everything to cool.
  6. Transfer the roasted ingredients to a mixer jar. Add tamarind (optional), salt and water.
  7. Grind into a smooth or slightly coarse chutney.
  8. For the tadka, heat oil in a small pan. Add mustard seeds and allow them to splutter.
  9. Add urad dal, dry red chillies and curry leaves. Roast until the urad dal turns golden.
  10. Pour the tadka over the chutney, mix well and serve.

Version 2: Without Roasted Coconut Flakes

Ingredients:

  • 1 cup fresh coriander leaves (dhania)
  • ½ cup fresh or packaged grated coconut (unroasted)
  • ¼ cup peanuts
  • 1 tbsp chana dal
  • 1–2 green chillies
  • ½ inch ginger
  • Small piece of tamarind (imli) – optional
  • Salt to taste
  • Water as required

Method:

  1. Dry roast the peanuts until crunchy and keep aside.
  2. Dry roast the chana dal until lightly golden.
  3. Add coriander leaves, green chillies and ginger to the mixer jar.
  4. Add unroasted grated coconut, roasted peanuts and chana dal.
  5. Add tamarind (optional), salt and water.
  6. Grind everything into a smooth chutney.
  7. Prepare the same mustard seeds, urad dal, dry red chilli and curry leaf tadka using oil.
  8. Pour the tadka over the chutney and serve fresh.

Tip: Roasted coconut flakes give the chutney a deeper, nutty flavour, while unroasted coconut gives it a fresher and milder taste.

Dhania, Coconut & Peanut Chutney Read More »
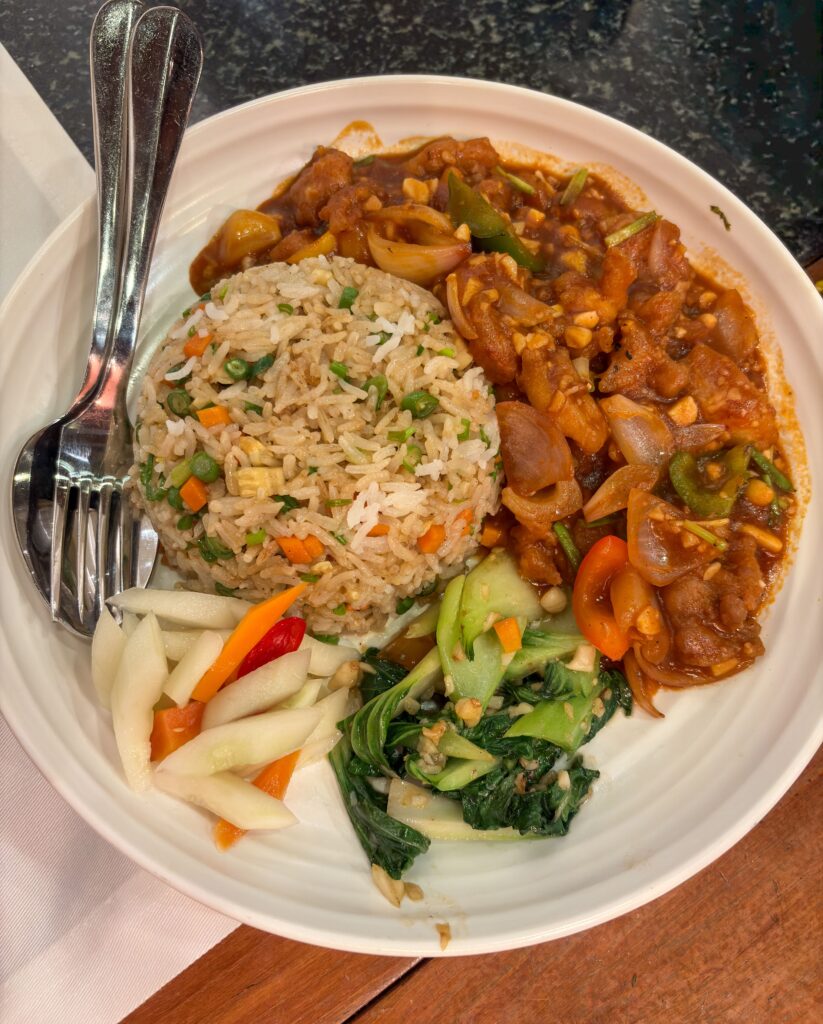
Chilli Garlic Dahi Paneer Chana Rice Bowl

A delicious, wholesome and filling one-bowl meal that brings together rice, protein-rich paneer, kala chana, fresh vegetables and a creamy spicy chilli garlic curd dressing. Perfect for lunch or dinner when you want something healthy yet full of flavour! ❤️

Ingredients:

For the Chilli Garlic Dahi Paneer Chana Rice Bowl

  • 1 katori cooked rice
  • ½ cup boiled kala chana
  • ½ cup lightly fried paneer
  • ¼ cup chopped cucumber
  • ¼ cup chopped carrot
  • ¼ cup chopped onion
  • ¼ cup chopped tomato
  • 1 tbsp green chutney (optional)
  • ½ tsp roasted cumin powder
  • 1 tsp chaat masala
  • Salt to taste

For Chilli Garlic Dahi Tadka:

  • 3–4 garlic cloves, chopped
  • 1 tsp Kashmiri red chilli powder
  • 1 tbsp oil or ghee
  • ½ tsp hing
  • 1 tsp cumin seeds
  • 1 tsp mustard seeds
  • 1 onion, chopped
  • 7–8 curry leaves
  • ¼ tsp turmeric powder
  • 1 tsp coriander powder
  • Salt to taste
  • 1 cup fresh curd

Method:

  1. Heat oil or ghee in a pan. Add cumin and mustard seeds and let them splutter.
  2. Add garlic, onion, curry leaves and hing. Sauté until aromatic.
  3. Add Kashmiri chilli powder, turmeric, coriander powder and salt.
  4. Lower the flame and add curd. Mix continuously to prepare a creamy chilli garlic dahi tadka.
  5. In a serving bowl, add cooked rice as the base.
  6. Arrange boiled kala chana, paneer, cucumber, carrot, onion and tomato over the rice.
  7. Add green chutney, roasted cumin powder and chaat masala.
  8. Finally, pour the chilli garlic dahi tadka generously over the bowl and mix everything together before serving.

Your complete Chilli Garlic Dahi Paneer Chana Rice Bowl is ready! 😍

Why you’ll love this bowl:

  • Rice provides energy through carbohydrates.
  • Paneer, kala chana and curd add protein.
  • Fresh vegetables and kala chana contribute dietary fibre.
  • Curd-based dressing adds creaminess without mayonnaise.

One bowl, multiple nutrients and loads of flavour! 💚

Chilli Garlic Dahi Paneer Chana Rice Bowl Read More »

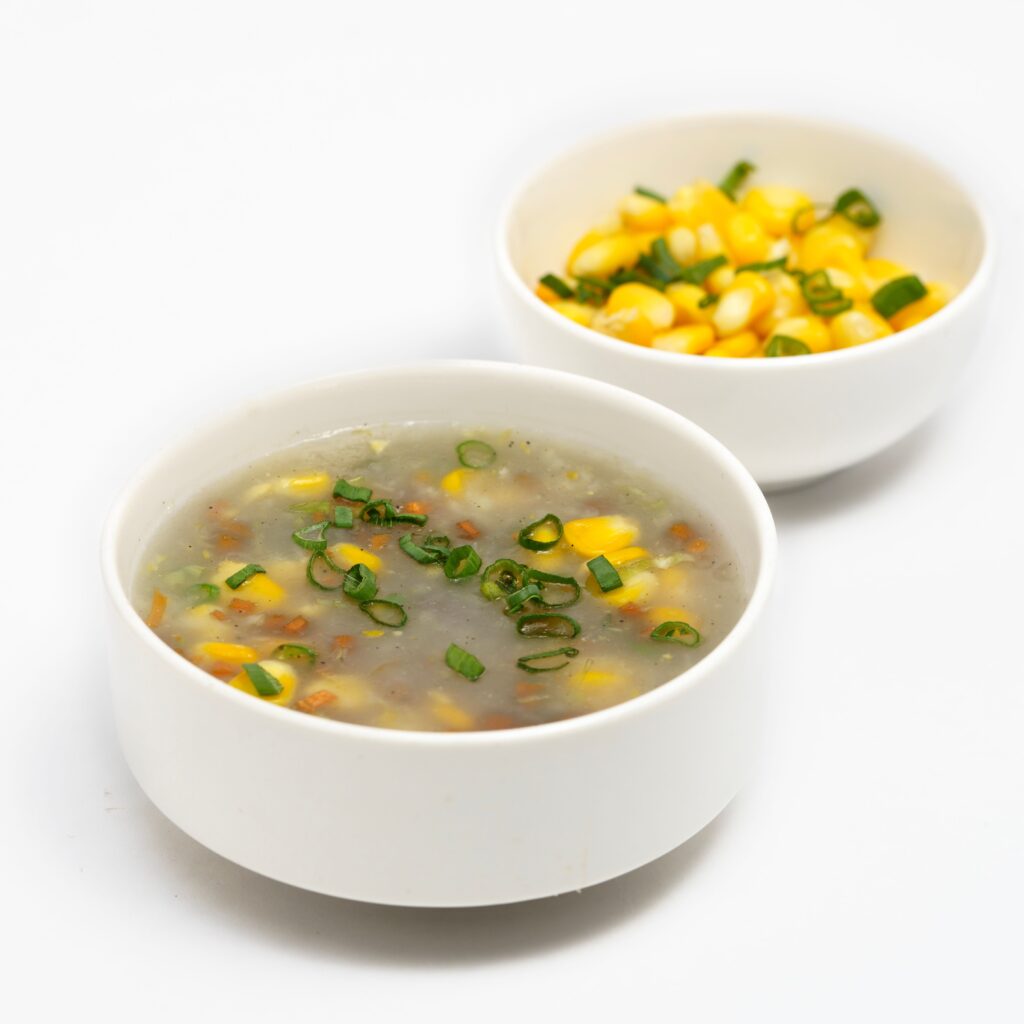
Sweet Corn Paneer Vegetable Soup

Looking for a light yet filling dinner option during your weight-management journey? Try this delicious Sweet Corn Paneer Vegetable Soup!

Loaded with colourful vegetables, sweet corn and paneer, this soup gives you a good combination of fibre and protein. The best part? No cornstarch needed! Simply blend some sweet corn to get a naturally creamy texture.

It’s comforting, wholesome and super easy to make – perfect for a healthy dinner! 😍

Ingredients OF Sweet Corn Paneer Vegetable Soup

  • A little butter
  • Chopped garlic
  • Chopped onion
  • Chopped green chilli
  • Chopped carrot
  • Chopped beans
  • Chopped green capsicum
  • Sweet corn
  • Chopped paneer
  • Salt to taste
  • Black pepper powder
  • Water as required
  • Fresh coriander (plenty!)
  • Lemon juice to taste

Method:

  1. Heat a little butter in a pan. Add chopped garlic, onion and green chilli. Sauté until aromatic.
  2. Add carrot, beans and capsicum. Cook for a few minutes until slightly tender.
  3. Boil some sweet corn separately and blend a portion of it into a smooth paste.
  4. Add the blended corn paste and remaining sweet corn to the vegetables.
  5. Pour in water as required and bring everything to a gentle boil.
  6. Add chopped paneer, salt and black pepper. Mix well and simmer for a few minutes.
  7. Finish with fresh coriander and a squeeze of lemon juice.

Your creamy, flavourful and protein-rich Sweet Corn Paneer Vegetable Soup is ready! ❤️

Healthy Tip: Blending sweet corn instead of using cornstarch gives the soup a naturally creamy texture. Paneer adds protein, while vegetables contribute fibre, making this a satisfying dinner option.

Sweet Corn Paneer Vegetable Soup Read More »

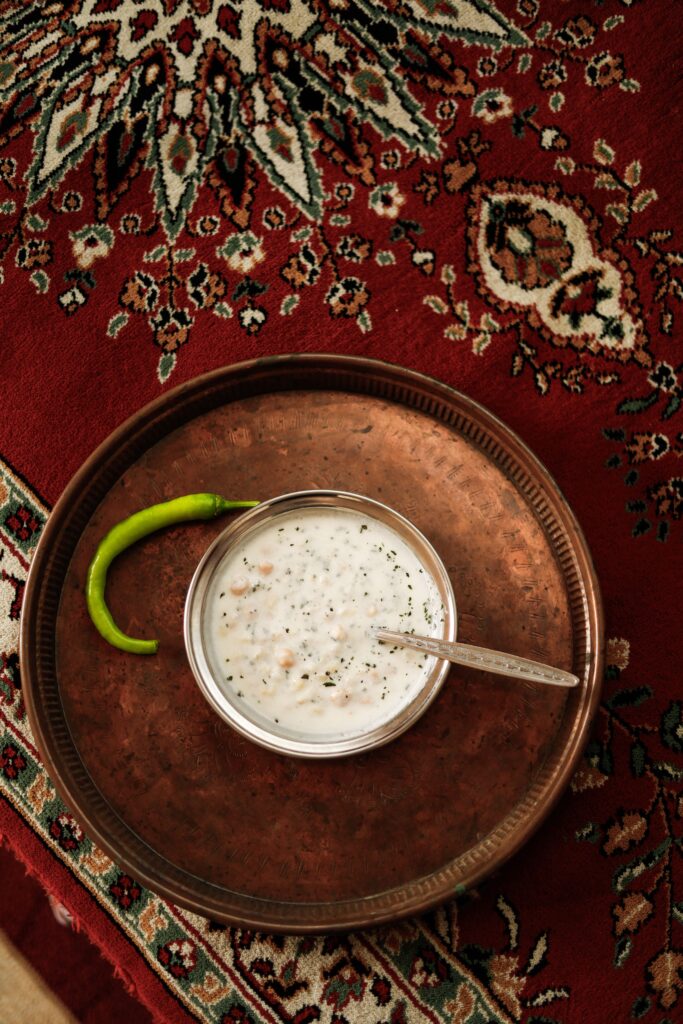
Kodo Millet Curd Bowl – A Gut-Friendly Meal

Looking for a simple, cooling and nourishing meal? Try this Kodo Millet Curd Bowl! Made with creamy curd, fibre-rich millet, fresh vegetables and soaked chia seeds, it’s a wholesome option for lunch, especially when you want something light yet satisfying.

What makes this bowl special? ✨

• Curd: Contains beneficial bacteria that support gut health.
• Kodo Millet: Provides dietary fibre and adds variety to your daily grains.
• Cucumber & Carrot: Add freshness, hydration and extra fibre.
• Chia Seeds: Rich in fibre and help support regular digestion.
• Ginger & Curry Leaves: Traditional ingredients that add flavour and are commonly used in Indian cooking to support digestion.

I love how simple everyday ingredients can come together to make such a nourishing meal. No fancy ingredients, no complicated cooking – just a wholesome bowl that’s delicious and satisfying! ❤️

Ingredients OF Kodo Millet Curd Bowl

  • ½ cup kodo millet (soaked overnight)
  • 1 cup beaten curd
  • 2 tbsp soaked chia seeds
  • ¼ cup chopped onion
  • ½ cup finely chopped cucumber
  • ½ cup grated carrot
  • 1 tsp groundnut oil
  • 10–15 curry leaves
  • 1–2 dry red chillies, broken into pieces
  • 1 tsp mustard seeds
  • 1 tsp grated ginger
  • 1 tsp finely chopped green chillies
  • Chopped coriander leaves
  • Salt to taste

Method:

  1. Wash and drain the overnight-soaked kodo millet. Cook it in double the amount of water until soft and fully cooked. Allow it to cool.
  2. In a large bowl, combine the cooked millet with beaten curd.
  3. Add soaked chia seeds, cucumber, carrot, onion, ginger, green chillies, coriander and salt. Mix everything well.
  4. For the tempering, heat groundnut oil in a small pan. Add mustard seeds and let them splutter.
  5. Add curry leaves and dry red chillies. Sauté for a few seconds.
  6. Pour the tempering over the millet-curd mixture and mix gently.

Your refreshing and wholesome Kodo Millet Curd Bowl is ready! Enjoy fresh. 💚

Kodo Millet Curd Bowl – A Gut-Friendly Meal Read More »

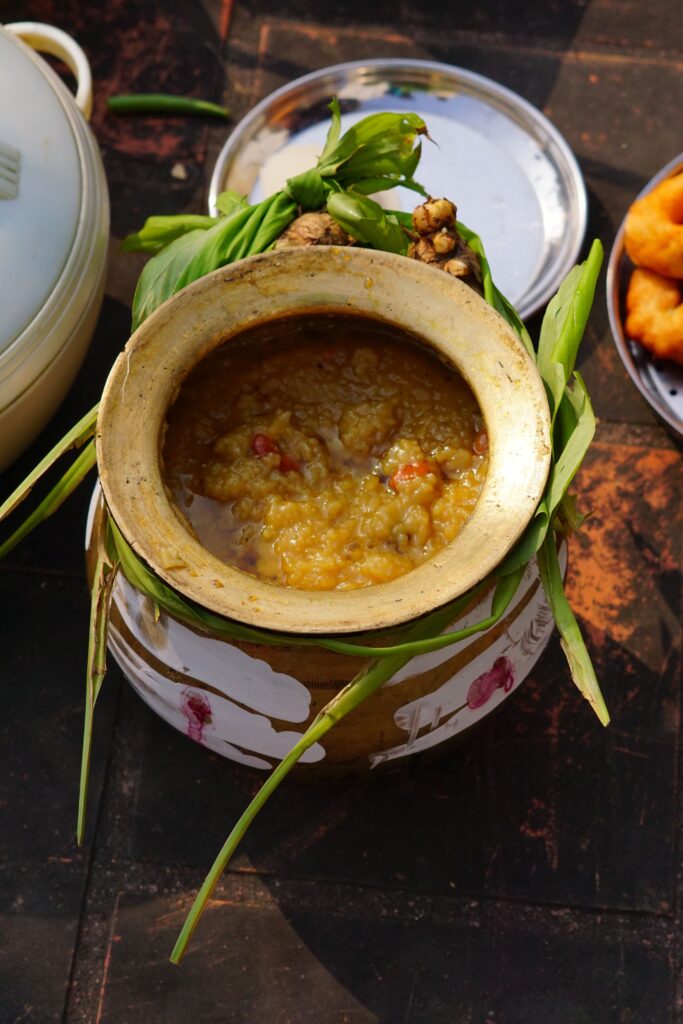
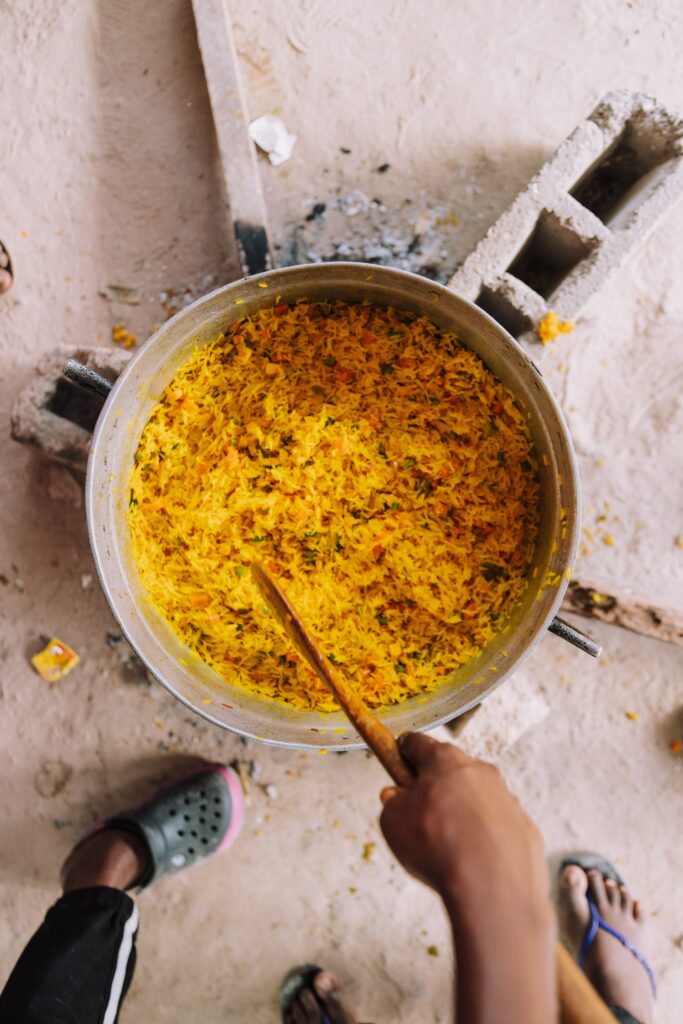
One-Pot South Indian Sambar Khichdi

A delicious twist on regular khichdi! This one-pot Sambar Khichdi combines rice, toor dal, fresh vegetables and aromatic sambar spices to create a wholesome, comforting South Indian meal. Easy to prepare in a pressure cooker and perfect for a nutritious lunch or dinner.

Preparation Time: 10 minutes
Cooking Time: 20 minutes
Serves: 2

Ingredients of One-Pot South Indian Sambar Khichdi

  • 1 cup basmati rice
  • ½ cup toor dal
  • 1 tbsp oil
  • ¼ tsp methi seeds
  • ½ tsp mustard seeds
  • ½ tsp cumin seeds
  • 1 sprig curry leaves
  • ¼ tsp hing
  • 2 dry red chillies
  • 2 green chillies, slit
  • 1 inch ginger, grated
  • 1½ cups chopped vegetables of your choice
  • 2 tbsp sambar powder
  • ½ tsp turmeric powder
  • ½ tsp red chilli powder
  • 4 cups water
  • Salt to taste

Method (Pressure Cooker)

  1. Wash and soak the rice and toor dal together for 15–20 minutes. Drain and keep aside.
  2. Heat oil in a pressure cooker. Add methi seeds, mustard seeds and cumin seeds. Allow them to splutter.
  3. Add dry red chillies, curry leaves, hing, green chillies and grated ginger. Sauté for a few seconds.
  4. Add the chopped vegetables, turmeric, red chilli powder and sambar powder. Mix well and sauté for 2 minutes.
  5. Add the soaked rice and dal along with water and salt. Mix everything well.
  6. Close the pressure cooker lid and cook for 4–5 whistles on medium flame.
  7. Allow the pressure to release naturally. Open and mix gently.
  8. Adjust the consistency with hot water if required. Your delicious one-pot Sambar Khichdi is ready!

Serving Suggestion: Serve hot with homemade curd, roasted papad or a side of coconut chutney. ❤️

Healthy Tip: Rice and toor dal provide a combination of carbohydrates and plant protein, while adding different vegetables increases the fibre, vitamins and mineral content of your meal. For a more balanced plate, pair it with a bowl of curd or Greek yogurt.

Recipe tip: If you prefer a softer, more porridge-like khichdi, add ½–1 cup extra water before pressure cooking.

One-Pot South Indian Sambar Khichdi Read More »

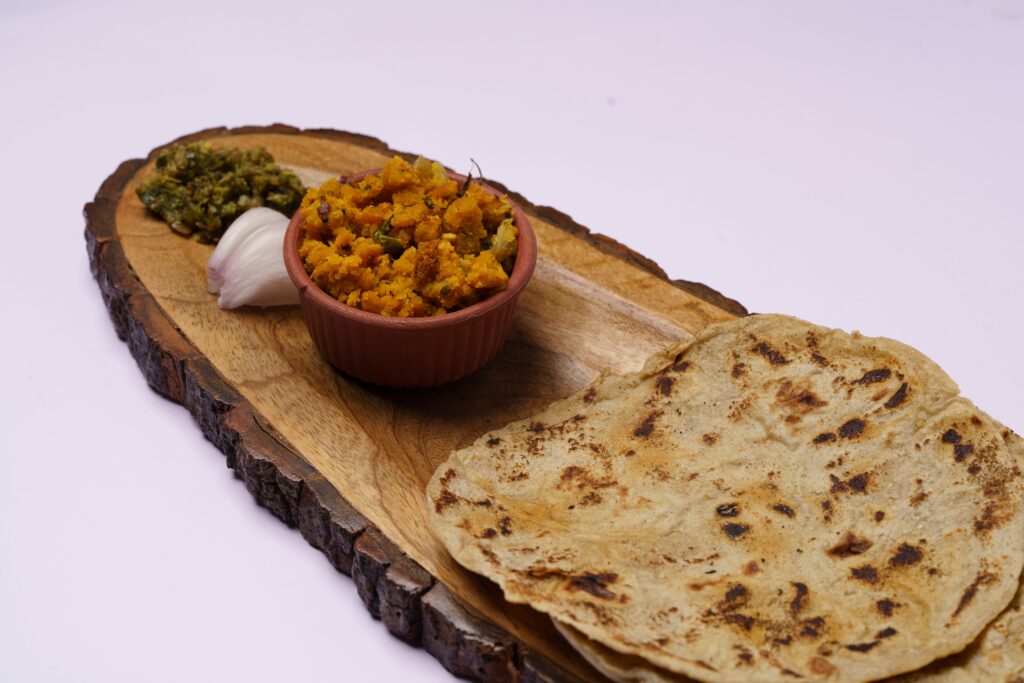
Homemade Dry Coconut Chutney

This homemade dry coconut chutney is spicy, flavourful and packed with traditional South Indian flavours! ❤️ It pairs perfectly with dosa, idli, uttapam or even a simple meal of dal and rice.

Ingredients of Homemade Dry Coconut Chutney

  • 1 cup urad dal
  • ¼ cup moong dal
  • Dry coconut (as required)
  • Dry red chillies
  • Garlic cloves
  • Curry leaves
  • Tamarind
  • Salt to taste

Method:

  1. Dry roast the urad dal and moong dal separately until golden and aromatic.
  2. Roast the dry coconut until lightly golden.
  3. Add dry red chillies, garlic and curry leaves and roast lightly.
  4. Allow everything to cool completely.
  5. Add tamarind and salt, then grind everything into a coarse powder.
  6. Store in an airtight container and enjoy whenever you like!

Health Benefits 🌿

🥥 Healthy Fats: Dry coconut contains medium-chain triglycerides (MCTs), a type of fat that can be used by the body for energy.

💪 Energy & Satiety: Healthy fats help provide energy and make meals more satisfying.

🌱 Plant Protein: Urad dal and moong dal add plant-based protein to this chutney.

🌾 Dietary Fibre: Coconut and lentils contribute fibre, which supports digestive health.

A flavourful homemade accompaniment that adds healthy fats, plant protein and extra taste to everyday meals. Just remember, coconut is calorie-dense, so enjoy it in moderate portions!

Homemade Dry Coconut Chutney Read More »

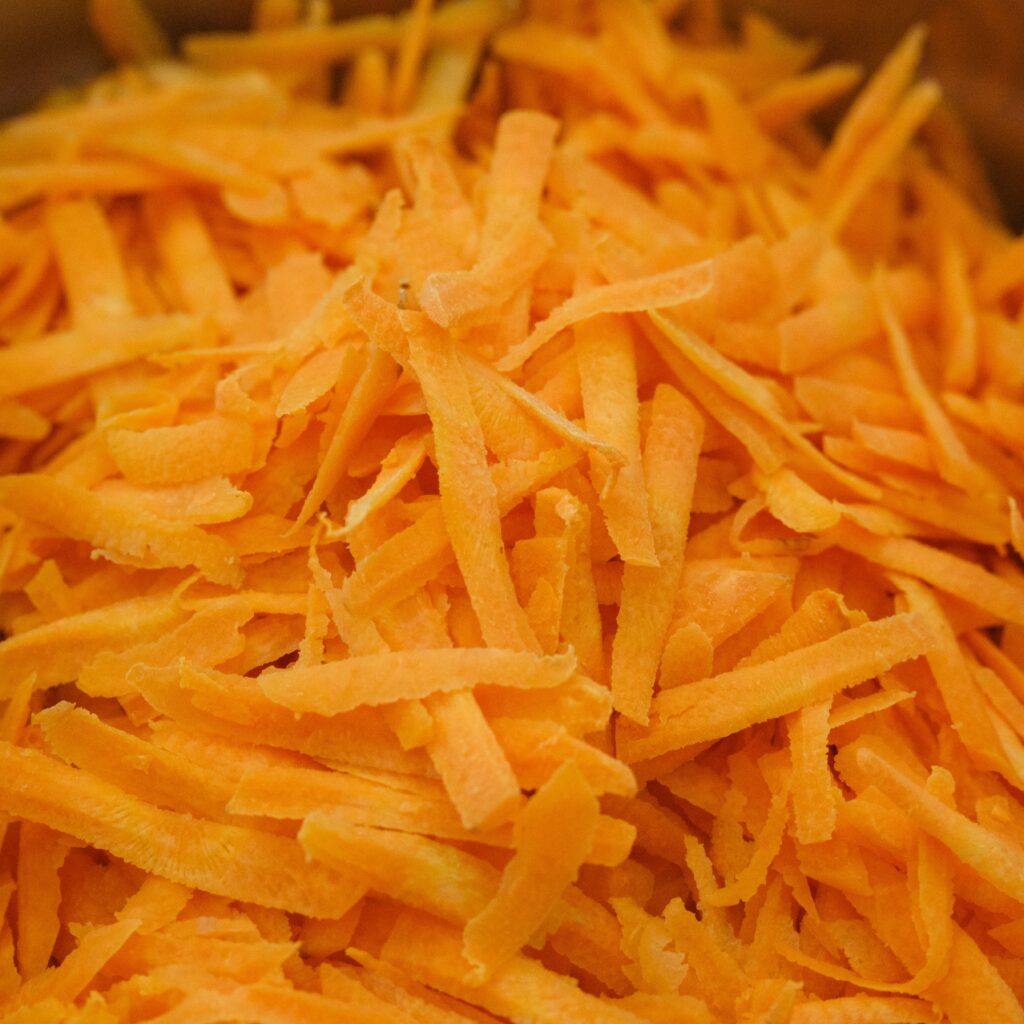
Spicy Indian-Style Carrot Salad

A crunchy, tangy and spicy carrot salad made with simple Indian-style seasonings! This quick and refreshing recipe is perfect for evening cravings or as a healthy side dish with your meals.

Ingredients of Spicy Indian-Style Carrot Salad

  • 1 medium carrot, finely shredded
  • Salt to taste
  • 1 tsp red chilli powder
  • ½ tsp roasted cumin powder
  • 1 tbsp roasted sesame seeds
  • A pinch of black pepper
  • 1 tbsp lemon juice
  • 1 tsp sesame oil or mustard oil
  • ½ tsp soy sauce (optional)
  • A pinch of chaat masala
  • Fresh coriander for garnish

Method:

  1. Prepare the carrot: Wash, peel and finely shred the carrot. Add a little salt and let it rest for 10–15 minutes.
  2. Drain: Remove the excess water without squeezing the carrots to maintain their natural crunch.
  3. Add spices: Mix in red chilli powder, roasted cumin powder, black pepper, chaat masala and roasted sesame seeds.
  4. Add flavour: Pour in lemon juice and sesame or mustard oil.
  5. Mix and serve: Toss everything well, garnish with fresh coriander and enjoy immediately!

🧡 Benefits of Carrots for Skin:

  • Natural skin protection: Rich in beta-carotene, which the body converts into vitamin A to support healthy skin.
  • Supports skin repair: Vitamin A helps maintain normal skin cell growth.
  • Antioxidant support: Carotenoids help protect cells from oxidative stress.
  • Collagen support: Carrots provide vitamin C, which contributes to normal collagen formation.
  • Healthy digestion: Their fibre supports gut health and regular bowel movements.

✨ Healthy tip: Include carrots regularly in your diet for a good supply of skin-supporting nutrients, fibre and antioxidants.

Spicy Indian-Style Carrot Salad Read More »

One-Pot High-Protein Soya Kadhi Chawal

A comforting twist on classic kadhi chawal! This one-pot recipe replaces traditional pakodi or badi with protein-rich soya chunks, giving you a delicious combination of tangy kadhi, soft rice and flavourful soya in every bite. Perfect for an easy, wholesome homemade meal.

Ingredients (Serves 2)

For the kadhi

  • 200 g curd (dahi)
  • 2 tbsp besan (gram flour)
  • 1 medium onion, finely chopped
  • 1 small tomato, chopped (optional)
  • 1 tsp ginger-garlic paste
  • 1–2 green chillies, chopped
  • ½ tsp turmeric powder
  • ½ tsp red chilli powder
  • ½ tsp coriander powder
  • Salt to taste
  • 3–3½ cups water

For the rice and soya

  • 50 g dry soya chunks
  • 100 g raw rice, washed
  • 1 tsp oil or ghee
  • ½ tsp cumin seeds
  • ¼ tsp mustard seeds (optional)
  • 1 pinch hing (asafoetida)
  • 6–8 curry leaves
  • ½ tsp kasuri methi (optional)
  • Fresh coriander for garnish
  • Water as required

Method

1. Prepare the soya chunks

Boil the soya chunks in water for 5–7 minutes. Drain, rinse with fresh water and squeeze out the excess water. Set aside.

2. Prepare the kadhi mixture

Whisk the curd, besan, turmeric, red chilli powder, coriander powder, salt and water until smooth. Make sure there are no lumps.

3. Prepare the tadka

Heat oil or ghee in a deep pot or pressure cooker. Add cumin seeds, mustard seeds, hing and curry leaves. Add onion, green chillies and ginger-garlic paste. Sauté until the onion softens. Add tomato, if using, and cook until soft.

4. Cook the kadhi

Lower the heat and gradually add the whisked curd mixture, stirring continuously. Bring it to a gentle simmer and cook for 5–7 minutes.

5. Add rice and soya

Add the prepared soya chunks and washed rice. Mix gently and add enough hot water to cook the rice. Adjust salt and spices as needed.

6. Cook until done

Cover and cook on low heat until the rice is soft and fully cooked, stirring occasionally to prevent sticking. Add more hot water if required for your preferred consistency. Finish with kasuri methi and fresh coriander.

Important: Curd-based kadhi can split if boiled too aggressively. Keep the heat moderate while adding the kadhi mixture. If using a pressure cooker, bring the kadhi to a gentle simmer first, then add rice and soya, and cook according to your cooker and rice type.

One-Pot High-Protein Soya Kadhi Chawal Read More »

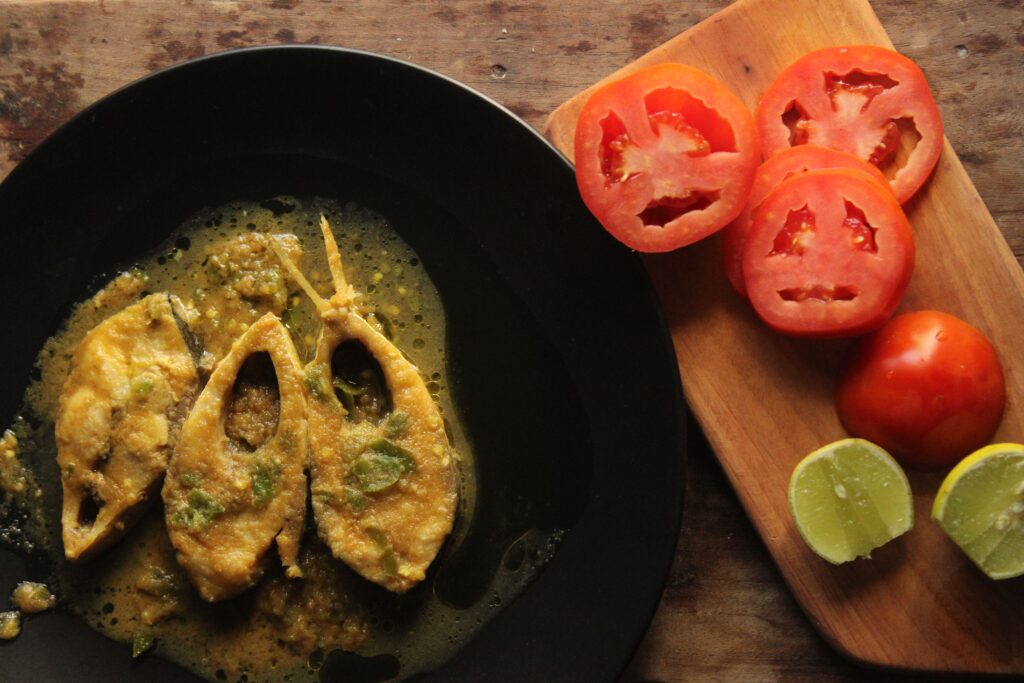
Bengali Bhapa Fish 🐟 | Steamed Mustard Fish

A traditional Bengali-style fish recipe made with a spicy mustard paste, yogurt, and aromatic spices. This bhapa fish is soft, flavourful, and requires very little oil, making it a great option for a healthy, protein-rich meal.

Ingredients

  • 250–300 g fish (Rohu, Katla, or any firm fish)
  • 2 tbsp mustard seeds
  • 1 tbsp poppy seeds (optional)
  • 2 green chillies
  • 2 tbsp hung curd
  • ½ tsp turmeric powder
  • ½ tsp red chilli powder
  • 1 tbsp mustard oil
  • Salt to taste
  • 1–2 tbsp water, as needed
  • 1 tsp lemon juice (optional)

Method

  1. Prepare the mustard paste: Soak the mustard seeds in water for 15–20 minutes. Grind them with green chillies and a little water to make a smooth paste. Add poppy seeds if using.
  2. Prepare the marinade: In a bowl, combine the mustard paste, hung curd, turmeric, red chilli powder, mustard oil, and salt. Mix well.
  3. Marinate the fish: Gently coat the fish pieces with the marinade and let them rest for 20–30 minutes in the refrigerator.
  4. Prepare for steaming: Place the marinated fish in a heatproof bowl or a container that fits inside your steamer. Cover with a lid or foil.
  5. Steam the fish: Place the container in a steamer and cook for approximately 15–20 minutes, depending on the thickness of the fish pieces. Check that the fish is cooked through.
  6. Finish and serve: Drizzle a little mustard oil on top and garnish with green chillies. Serve hot with steamed rice.

Extra Tips

  • For authentic Bengali flavour: Use mustard oil and green chillies generously according to your spice preference.
  • Avoid bitterness: Don’t over-grind mustard seeds, and use a small amount of yellow mustard along with black mustard if needed.
  • For a creamy marinade: Hung curd helps balance the sharpness of mustard.
  • For a healthier version: Steam rather than fry the fish, and measure the oil carefully.
  • For best results: Avoid over-steaming, as fish can become dry and break apart.

Serving suggestion: Pair with steamed rice and lightly sautéed vegetables for a balanced meal.

Clarify fish preparation stepsAdd cooking time and serving size

Bengali Bhapa Fish 🐟 | Steamed Mustard Fish Read More »

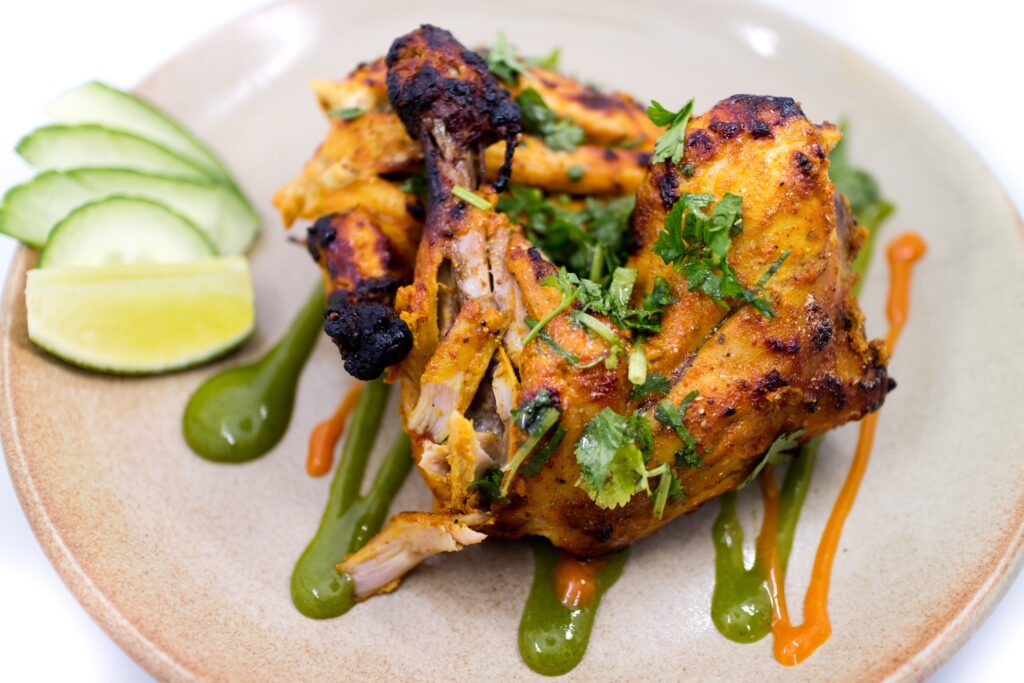
Homemade Oven-Roasted Tandoori Chicken

Juicy, flavourful and coated in a creamy hung curd marinade, this homemade tandoori chicken is perfect for a healthy, protein-rich lunch or dinner!

Ingredients

For the Marinade:

  • 250 g hung curd
  • 3 tbsp mustard oil
  • 1 tbsp red chilli powder
  • 1 tbsp ginger-garlic paste
  • 1 tbsp black pepper powder
  • ½ tbsp turmeric powder
  • 1 tbsp coriander powder
  • 1 tbsp chicken masala
  • 1–2 tbsp kasuri methi, crushed
  • 1 tbsp lemon juice
  • Salt to taste

Main Ingredient:

  • Chicken, as required

Method

  1. In a large bowl, add the hung curd, mustard oil, ginger-garlic paste, and all the spices.
  2. Add crushed kasuri methi, lemon juice, and salt. Mix everything well until you get a smooth, flavourful marinade.
  3. Add the chicken and coat each piece thoroughly with the marinade.
  4. Cover and refrigerate for at least 30 minutes, preferably 2–4 hours, for better flavour.
  5. Preheat the oven to 180°C for 10 minutes.
  6. Arrange the marinated chicken on a baking tray or wire rack. Bake on the middle rack at 220–230°C for approximately 35–45 minutes, depending on the size and type of chicken pieces. Use the fan and both heating elements if your oven supports this setting.
  7. Turn the pieces halfway through cooking for even roasting. Check that the chicken is fully cooked before removing it from the oven.
  8. For a smoky, tandoor-style finish, grill or broil for another 3–5 minutes, keeping a close eye on it to prevent burning.

Extra Tips for Perfect Tandoori Chicken

  • For deeper flavour: Make a few cuts in the chicken before marinating so the masala penetrates better.
  • For a thicker marinade: Use well-strained hung curd to prevent excess moisture.
  • For better colour: Kashmiri red chilli powder can be used for a vibrant red colour without adding too much heat.
  • For juicy chicken: Avoid overcooking, especially if using boneless pieces. The thickest part should reach 74°C internally.
  • For a healthier version: Reduce the mustard oil to 1–2 tbsp if you want to lower the overall calories.
  • For extra char: Brush lightly with oil before the final grilling step.

Serve hot with mint-yogurt chutney, onion rings, lemon wedges, and a fresh salad for a delicious, protein-rich meal.

Homemade Oven-Roasted Tandoori Chicken Read More »