Bananarama Toast
Bananarama Toast
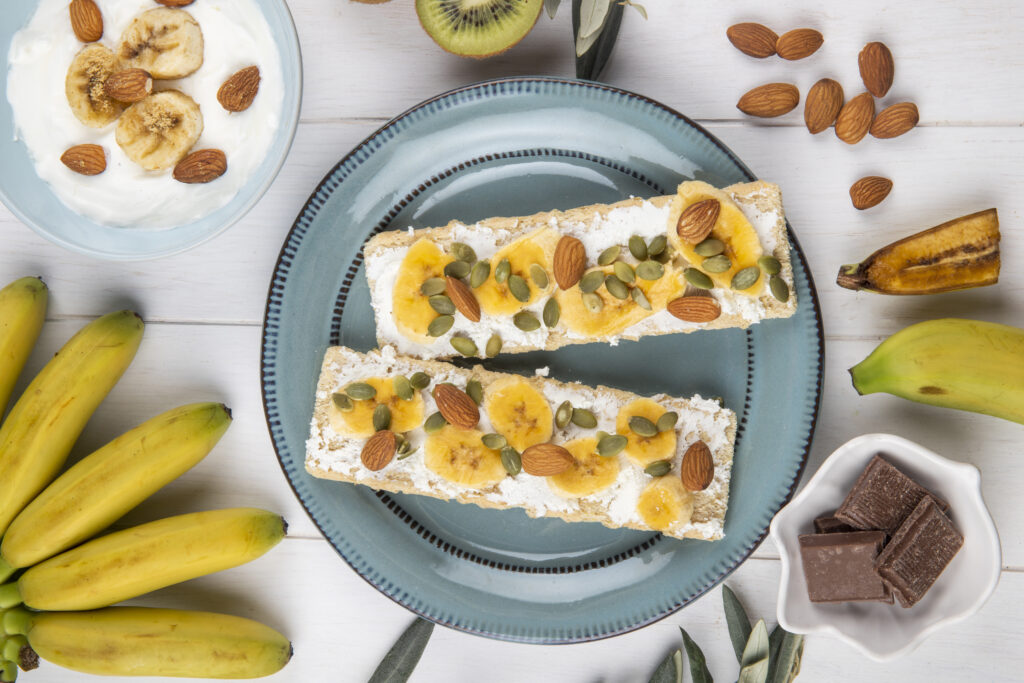
🍌 Bananarama Toast
🧾 Ingredients (1–2 servings)
- 2 slices of bread (sourdough, whole wheat, or brioche work great)
- 1 ripe banana
- 1–2 tbsp peanut butter, almond butter, or Nutella
- 1 tsp honey or maple syrup (optional)
- ¼ tsp cinnamon (optional)
- Pinch of salt
- Butter (optional, for toasting)
👩🍳 Instructions
- Toast the bread
Toast slices to your desired crispness. For extra flavor, lightly butter the bread before toasting in a pan. - Spread the base
While warm, spread peanut butter (or your choice of spread) evenly over the toast. - Add banana
Slice the banana and layer it evenly on top. - Boost the flavor
Sprinkle with cinnamon and a tiny pinch of salt. Drizzle with honey or maple syrup if you like it sweeter. - Optional upgrades
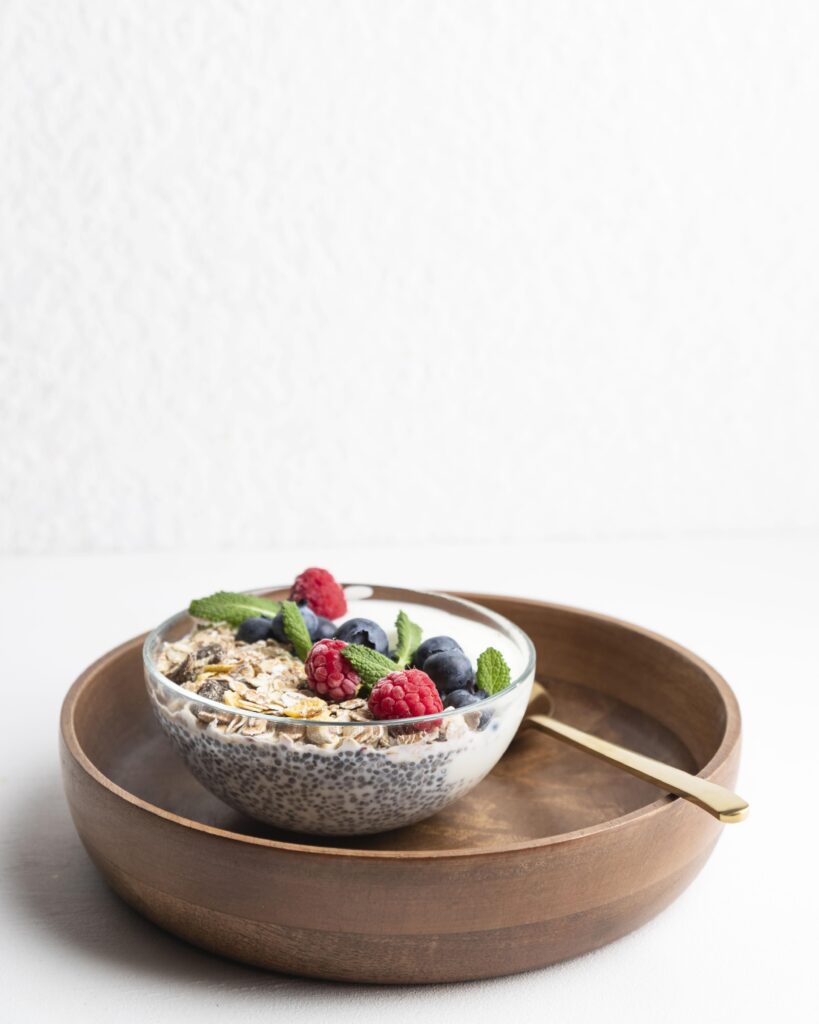
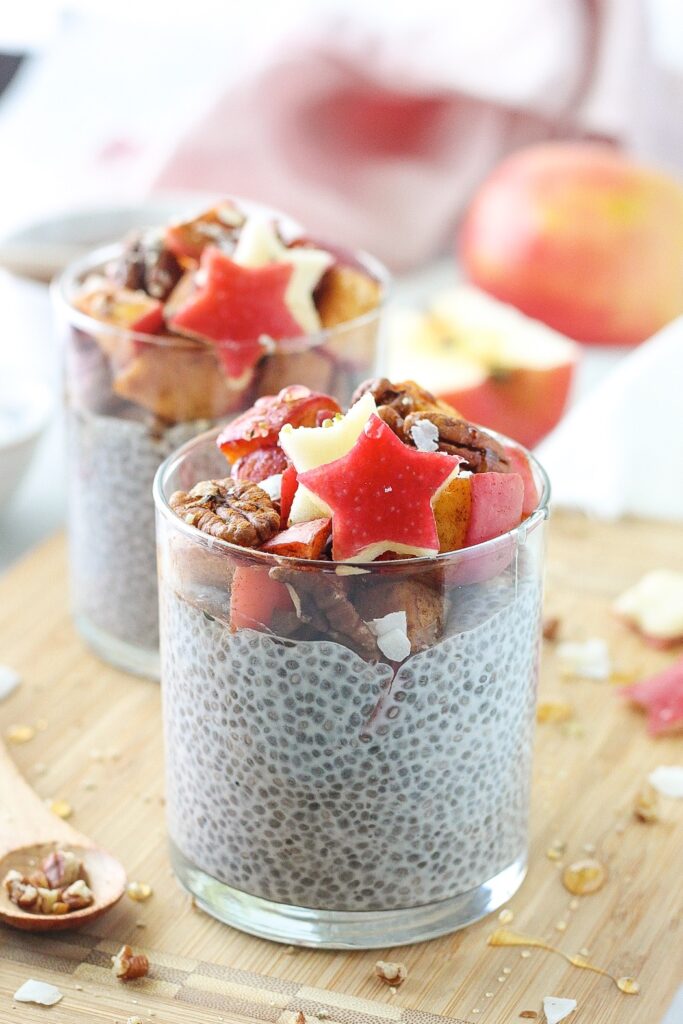
- Add chia seeds or flaxseeds
- Top with granola for crunch
- Add a few dark chocolate chips
- Finish with a dollop of Greek yogurt