
Low-carb and High-protein meals
You are working hard to lose weight, but not seeing the results that you had hoped for? well, this can be due to various reasons. For instance, you might not be following a diet which will be beneficial for you in losing weight. That’s why we brought you a very effective method. A low-carb and high-protein meals-based diet along with moderate physical activity can be a highly effective method to reach your goals.
The logic behind this effective method is simple. Eat low carbs and simultaneously high protein intake so that you will feel satiated for a longer time. Also, protein provides more essential nutrients per calorie than fat or carbohydrates.
learn to make How to make low carb chocolate- a quick 5 minute recip
Moreover, a low-carb and high-protein meals diet causes less fluctuation in blood sugars. And there are other benefits, such as raising “good” HDL cholesterol while lowering your blood pressure, triglycerides, and “bad” LDL cholesterol.
The study in Nutrients randomized 35 overweight or obese adults without diabetes to either a high-protein diet (30% calories from protein, 40% carbs, and 30% fat) or a low-glycemic index diet (20% protein, 50% carbs, and 30% fat) for four weeks.
The subjects then switched to the other diet during the remaining four weeks. Both diets were energy-deficit, providing a 30% calorie reduction from daily energy needs.
However, those who started with the high-protein diet lost more fat mass than those who started with the low-glycemic diet — 4.6 kilos (10 pounds) versus 2.2 kilos (4.8 pounds). And those on the high-protein diet showed better maintenance of lean muscle mass.
Furthermore, based on these study results, we can conclude that higher protein intake is beneficial for losing fat mass and retaining lean body mass, even when part of an energy-restricted diet.
(Source- https://www.dietdoctor.com/study-shows-high-protein-diets-are-better-for-fat-loss )
Also check this out: Easy Potassium-rich 17 recipes
Low-carb, high-protein meals in breakfast:
1. Oats tofu pancakes/Chana dal pancakes:
Pancakes are loved by everyone whether its kids or adults or even by elders as well.
Oats Tofu Pancakes being a low-carb and high-protein meals is that one dish that is not only brimming with nutrients but also tasty. You can savor it as a breakfast option or as an evening snack, and it won’t disappoint you. Moreover, it is a wholesome dish rich in protein, and that makes it an amazing choice for a healthy breakfast.

Nutritive value for 1 oats-tofu pancakes:
Energy: 102 kcal Protein: 3.3 g Carbs: 5.6 g Fat: 5.6 g
Chana Dal Pancakes is an easy-to-make recipe and is quick to cook also. It makes the perfect breakfast when served with chutney of your choice. Chana dal is a also good source of plant protein.
So, you can prepare these nutritious and delicious pancakes for breakfast and give your day a power boost and a healthy start.

Nutritive value for 1 chana dal pancakes:
Energy: 122 kcal Protein: 6.9 g Carbs: 11.3 g Fat: 5.6 g
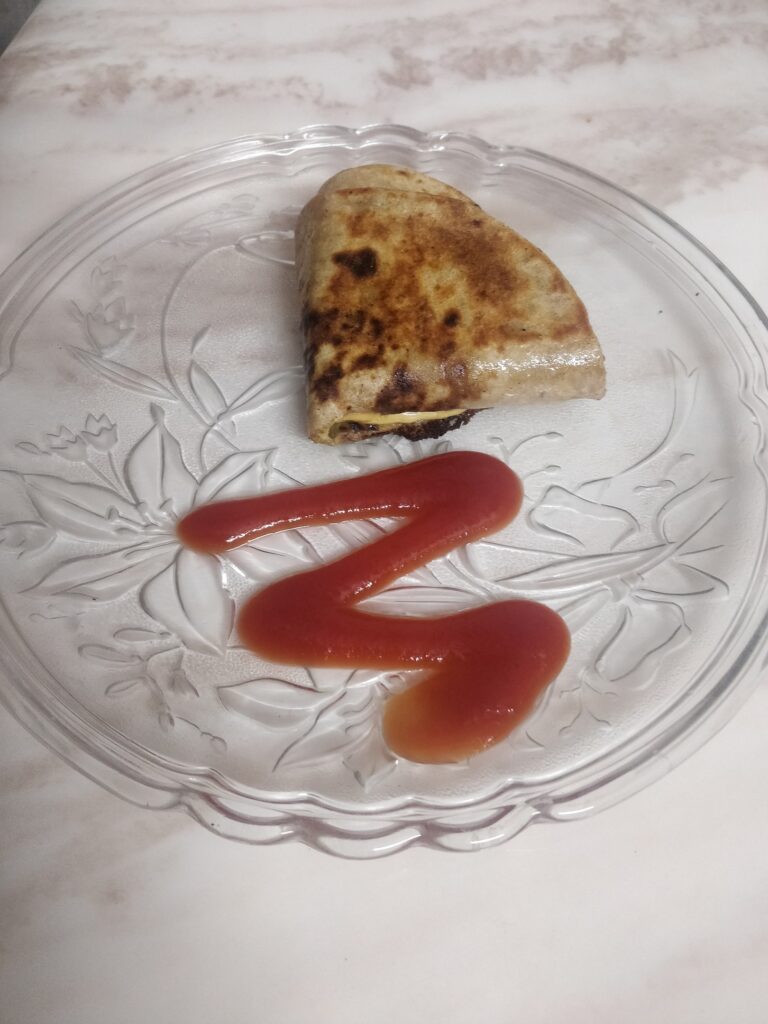
2. Moth beans sprouted frankie
Moth Beans Sprouted Frankie is rich in protein, and sprouting the beans makes them more nutritious. Kids and adults love this yummy Sprouted Moth Bean Frankie.
These beans are very rich in proteins as well as calcium. It is a good choice for vegetarians and also lactose-intolerant people. This contains fiber, vitamins, and minerals like zinc, sodium, copper, iron, manganese, phosphorus, potassium, calcium, and magnesium.

Nutritive value for 1 kat moth beans frankie:
Energy: 85 kcal Protein: 4.0 g Carbs: 13.5 g Fat: 2.6 g
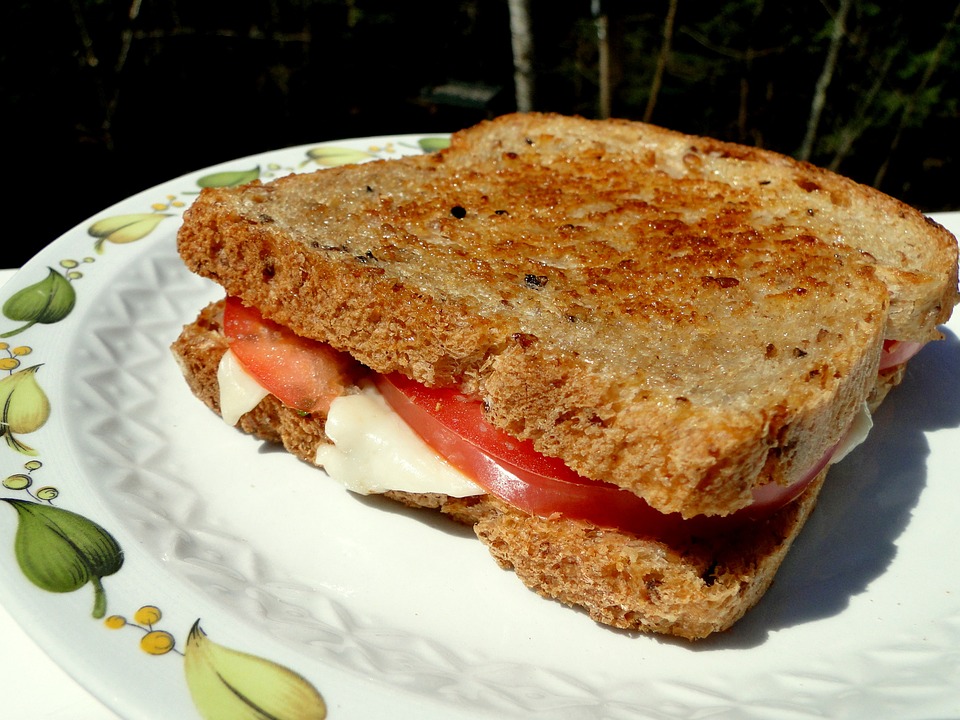
3. Veggie egg Omelette/Chicken egg Omelette /Mediterranean Omelette for low-carb and high-protein meals:
Omelettes are so easy to make and only require a few inexpensive ingredients.
In vegetable egg omelette, you can add colorful vegetables in it which can provide you with a variety of flavors. It is also a perfect example of a high protein and low carb recipe.

Nutritive value for 1 vegetable omelette:
Energy: 258 kcal Protein: 14.1 g Carbs: 7 g Fat: 20.3 g
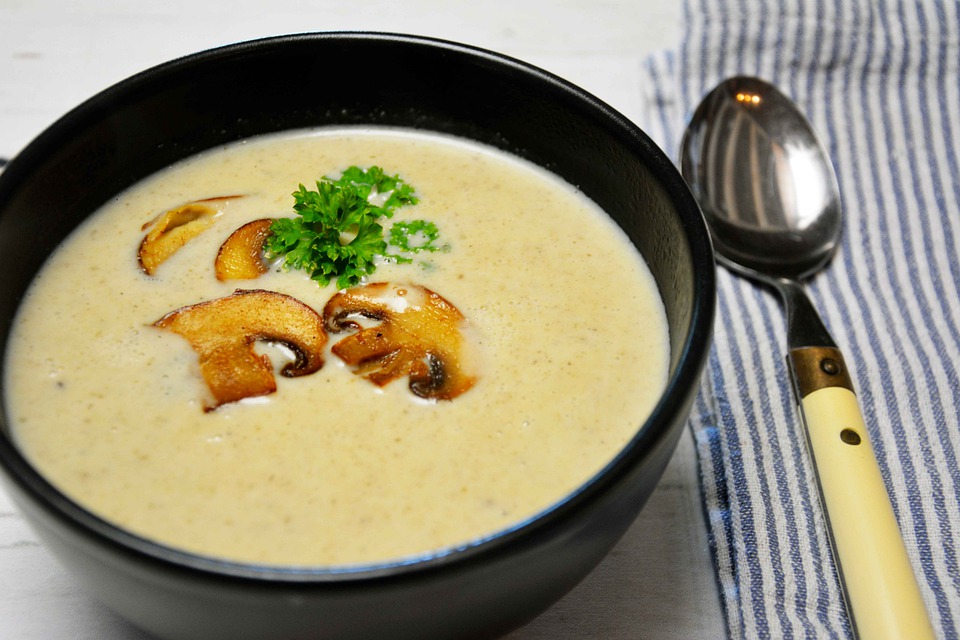
Chicken Omelette is a high protein dish made with egg and a delicious stuffing of chicken. Serve this delicious omelette with some sautéed mushrooms.
Nutritive value for 1 chicken omelette:
Energy: 407 kcal Protein: 35.5 g Carbs: 7.6 g Fat: 26.5g
Mediterranean omelette is made with goodness of spinach, onions, olives and oregano which gives it a flavorsome taste. It is also a perfect blend of healthy and tasty.
Nutritive value for 1 Mediterranean Omelette:
Energy: 309 kcal Protein: 17.4 g Carbs: 6.9 g Fat: 24.5g
4. Paneer dalia upma
The recipe is made of wheat, paneer, lentils, and lots of vegetables too. This low-key, high-protein vegetarian breakfast is loved by many in-and-out fitness people.

Nutritive value for 1 kat paneer dalia upma:
Energy: 183 kcal Protein: 7.8 g Carbs: 20.3 g Fat: 7.1 g
5. Scotch eggs
Easy to make hard fried scotch eggs recipe that is low carb, a complete meal, and can easily be made at home. As per definition, a scotch egg is a hard-boiled egg enclosed in sausage meat, rolled in breadcrumbs, and fried.

Nutritive value for 1 scotch egg:
Energy: 265 kcal Protein: 10.6 g Carbs: 16.8 g Fat: 16.5 g
Low-carb, high-protein meals for lunch and dinner:
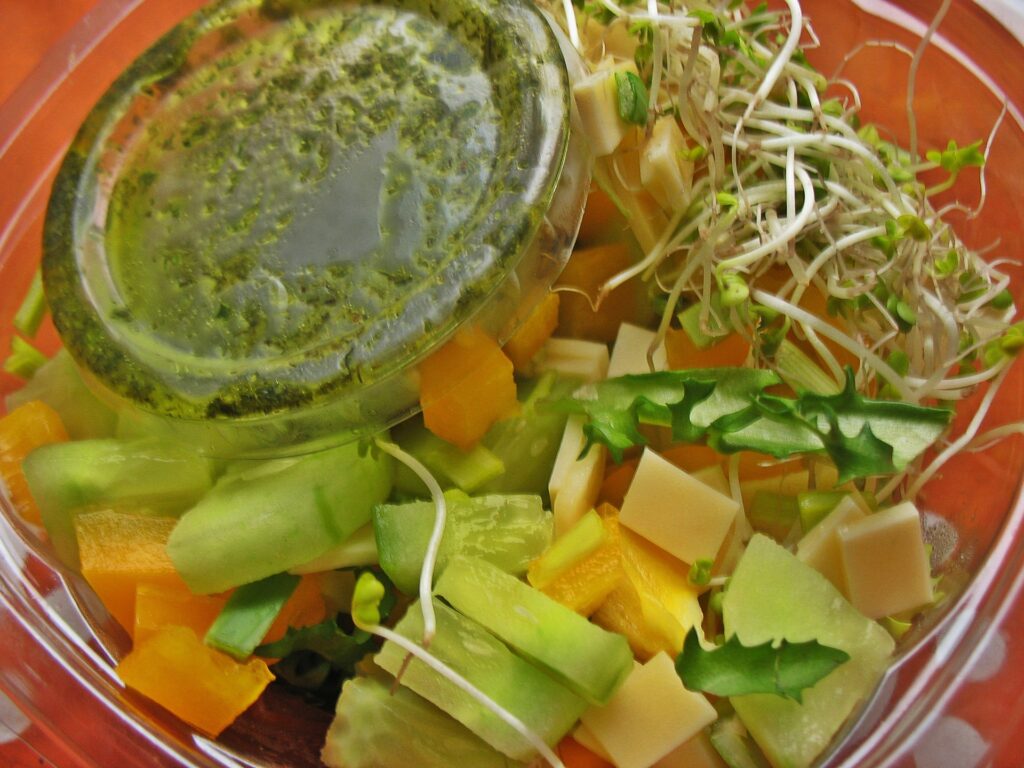
1. Chicken/Tofu with quinoa Greek salad for low-carb and high-protein meals
This Greek Chicken/Tofu Quinoa Salad is fresh, light on your stomach and filled with different flavors which makes it perfect for your lunch or dinner. It is also full of protein and goodness of veggies and quinoa all tossed in a tasty Greek dressing.
It is super-easy to make. You can also make it the night before and just pull it out of the fridge when you’re ready to have your lunch.

Nutritive value for 1 bowl chicken quinoa greek salad:
Energy: 274 kcal Protein: 21.4 g Carbs: 19.2 g Fat: 11.6 g

Nutritive value for 1 bowl tofu quinoa greek salad:
Energy: 236 kcal Protein: 10 g Carbs: 23.5 g Fat: 12 g
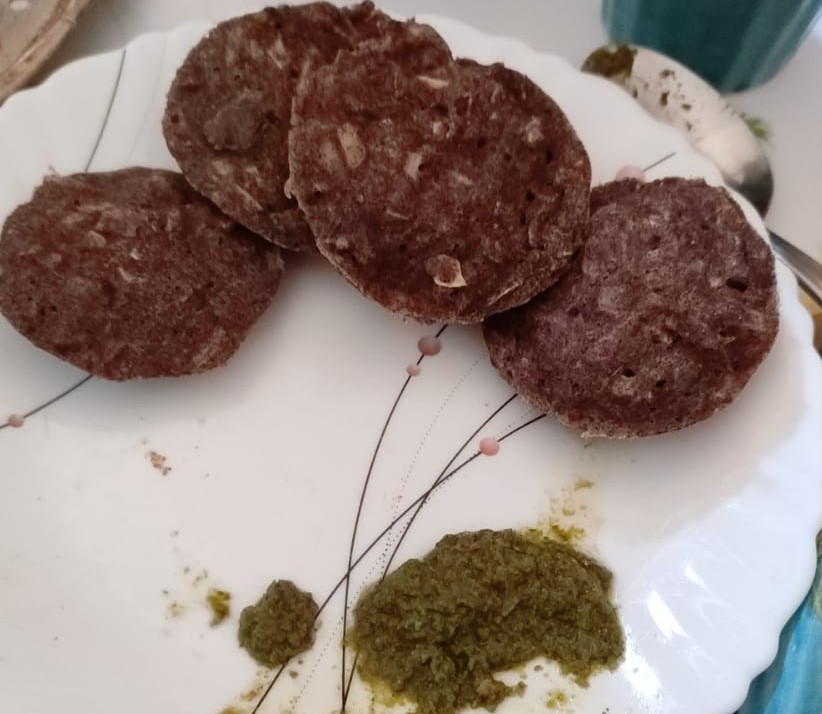
2. Paneer stuffed moonglet
Stuffed paneer moonglet is a perfect dish you can have as your major meal. It is brimming with nutrients and is not only super healthy but also tasty. It’s ful-filling with goodness of protein, fiber, potassium, calcium, and magnesium that plays an important role in managing various functions of our body. Stuffed paneer moonglet is like a wholesome meal which serves well with either mint-coriander chutney or similarly you can serve it with tamarind-jaggery chutney.

Nutritive value for 1 paneer stuffed moonglet:
Energy: 191 kcal Protein: 10.1 g Carbs: 18.1 g Fat: 8.8 g
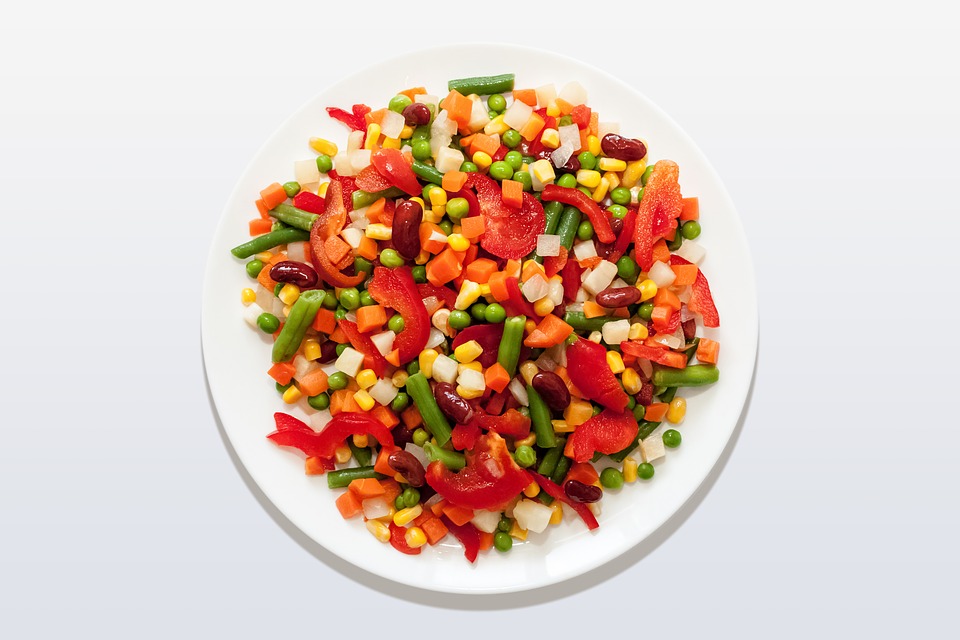
4. Rajma mix veg salad/Three bean chaat/paneer-chana salad
Rajma mix veg salad is a lip-smacking salad made with items such as rajma (kidney beans), vinegar, green chili, garlic, tomato, onion, red bell pepper, yellow bell pepper, carrot, and lemon juice. It is also super easy to make and deliciously good as well.
Nutritive value for 1 bowl rajma mix veg salad:
Energy: 174 kcal Protein: 10 g Carbs: 24.5 g Fat: 3.5 g
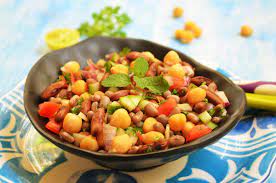
This bean chaat includes rajma, chole and French beans that gives you a nutritious punch. Along with 3 beans, it is also packed with vegetables such as onion, tomatoes, cucumber, drizzled with a light dressing of lemon juice and chaat masala. Furthermore, this instant recipe can be made when you are hungry, and one won’t even have to worry about weight while indulging in this. It is also very healthy, making it a great choice for a quick lunch or dinner.
Nutritive value for 1 bowl three bean chaat:
Energy: 267 kcal Protein: 14.5 g Carbs: 30 g Fat: 6.4 g
Paneer-chana salad is a spicy and delicious dish made with chickpeas (chana/chole) and paneer. Also, you can lots of colorful vegetables in it. This is very fulfilling and deliciously amazing and everyone loves it.

Nutritive value for 1 bowl paneer-chana salad:
Energy: 256 kcal Protein: 14.6 g Carbs: 25 g Fat: 10.2 g
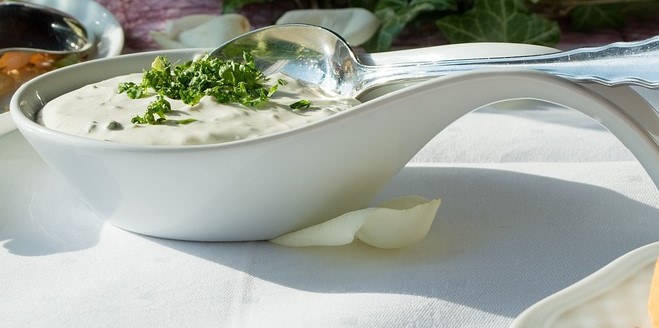
5. Sprouts kadhi with rice bowl/Sprouts-paneer salad:
Sprouts kadhi is a popular western Indian dish that’s served for lunch or dinner meals. The flavors of this recipe are refined and wholesome. In addition, it is low in sodium and nutrient-rich with the goodness of calcium, protein & fiber that makes this a flavorful healthy choice for the meal.
A slight twist to a regular kadhi with adding sprouts makes it more healthy, nutritious, flavorful, colorful, and appealing for all ages.
On the whole, this dish can be a wholesome meal as a lunch or dinner with steamed rice served. Choose more amount of kadhi and less amount of rice which will balance your meal.

Nutritive value for 1 bowl sprouts kadhi with rice:
Energy: 208 kcal Protein: 8.5 g Carbs: 16.6 g Fat: 8.2 g
Sprouts-paneer salad is super healthy and also loaded with the goodness of protein and other essential nutrients. It is made with two prime ingredients- sprouts and paneer. The high protein element of this salad makes it a perfect pick for effective weight loss as protein makes your stomach full for a longer time period.
Also, it is super easy to make as it won’t take you more than 5-10 minutes to prepare this salad.
Nutritive value for 1 bowl sprouts paneer salad:
Energy: 159 kcal Protein: 10.1 g Carbs: 10.2 g Fat: 9.4 g
6. Baked palak paneer
Spinach is loaded with tons of nutrients and can be used for a breakfast meal or a main meal option both ways. Dark, leafy greens like spinach are important for skin, hair, and bone health. They also provide protein, iron, vitamins, and minerals. On the other hand, paneer is an excellent source of protein and calcium.

Nutritive value for 1 kat of baked palak paneer:
Energy: 177 kcal Protein: 6.5 g Carbs: 6.1 g Fat: 10.3 g
7. Chilli chicken/Chilli paneer with quinoa pasta
Chilli chicken is a flavorful and crispy dish which has a spicy taste to it. This is one of the most popular Indo-Chinese style chicken appetizers or starters. This dish is high in protein and low in carbs. You can enjoy the dish with quinoa pasta or millet noodles or fried rice.
In fact, this delicious chicken recipe is very popular in restaurants but you can easily make it at the comfort of your home according to your own taste.
Nutritive value for 1 bowl of Chili chicken with quinoa pasta:
Energy: 287 kcal Protein: 25.0 g Carbs: 23 g Fat: 10.2 g
Chili Paneer is one of the popular recipes from Indian Chinese cuisine which is made by seasoning paneer in tomato chili sauce . It is a versatile dish and there are so many ways of making it. You can make it dry, semi dry or also a gravy version. You can serve a dry version of chili paneer as a starter or appetizer snack. The gravy version is served with steamed rice or noodles which you can have for your lunch or dinner. The semi-dry version can be served as an appetizer.
Nutritive value for 1 bowl of Chili paneer with quinoa pasta:
Energy: 289 kcal Protein: 16 g Carbs: 24.1 g Fat: 20.5 g
8. Broccoli paneer salad
Broccoli-paneer salad is loaded with the goodness of protein and also several important nutrients which are provided by the broccoli. The unique combination of broccoli and paneer turned into a salad is delicious and nutritious at the same time. Also. it makes a great dish for lunch or dinner and is simple to prepare. It is a perfect dish for weight-watchers.
Moreover, for non-vegetarians, chicken or fish can be used with broccoli which will give you a mouth watering taste.

Nutritive value for 1 bowl of Broccoli paneer salad:
Energy: 214 kcal Protein: 8.9 g Carbs: 10.1 g Fat: 16.3 g
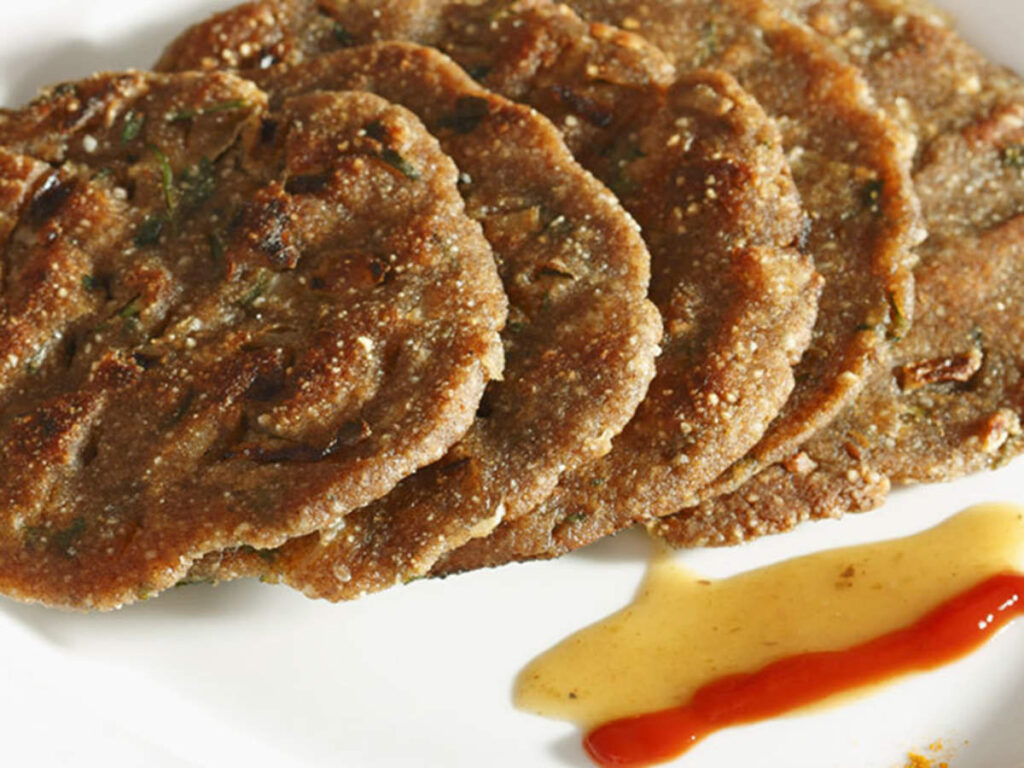
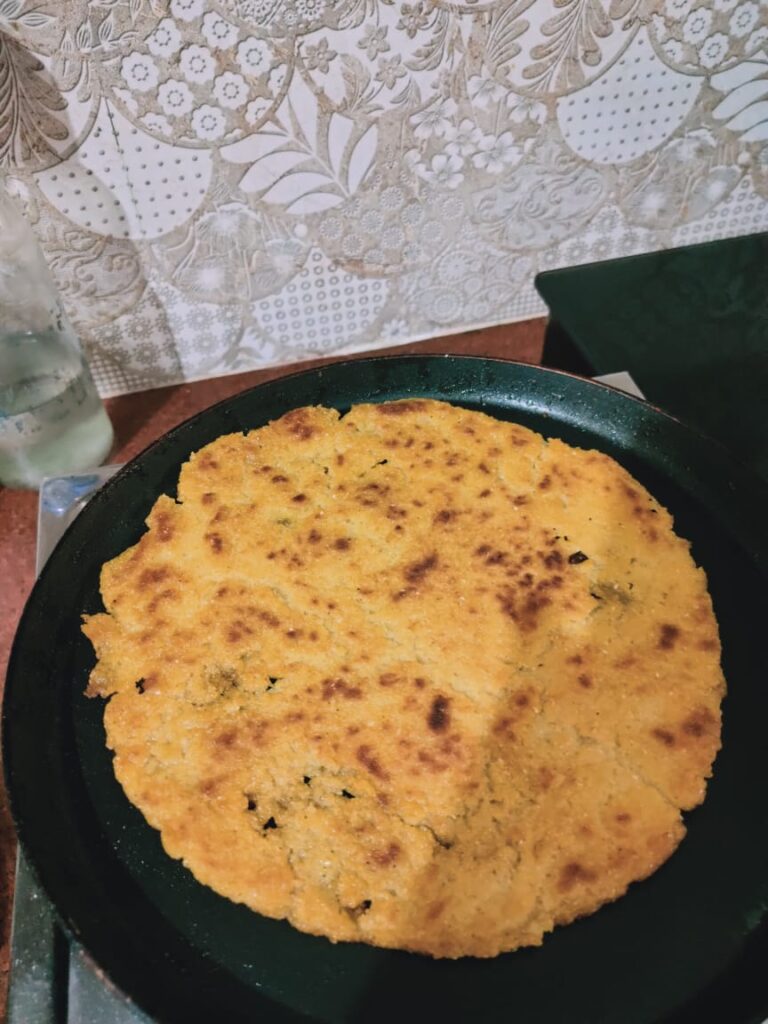
9. Bajra khichdi
Bajra Khichdi is a wholesome and nutritious meal made with rice and lentils. This Khichdi recipe is light on the stomach and easy to digest as well. Also, it is loaded with the goodness of protein. You can serve this nourishing khichdi with curd or raita.
Nutritive value for 1 bowl of bajra khichdi:
Energy: 192 kcal Protein: 7.0 g Carbs: 25.1 g Fat: 7.1 g
10. Grilled steak with vegetables on the side
Grilled steaks are perfectly seasoned and mouth-watering indeed. It is so tender that it melts in your mouth. It is usually served with grilled or roasted or stir-fry vegetables on the side which gives an amazing flavorful taste.

Nutritive value for 1 serving of grilled steak with vegetables:
Energy: 372 kcal Protein: 33.1 g Carbs: 16.2 g Fat: 19.5 g
11. Spinach-Prawn-Avocado salad/Prawn and egg fried rice
Spinach-prawn-avocado salad is amazingly delicious salad made with avocado, spinach and prawns. You can also seasoned this salad with lemon juice, black pepper and some coriander leaves. This salad gives you a refreshing twist with its unique and flavorful taste. It is also loaded with the goodness of protein, vitamins and minerals.

Nutritive value for 1 bowl Spinach Prawn Avocado salad:
Energy: 266 kcal Protein: 19.1 g Carbs: 5.5 g Fat: 19.6 g
Prawn and egg fried rice is a unique and very appealing Thai dish and tasty as well. This Chinese style dish is delish enough to tempt your taste buds. Also, it is high in protein and low in carbohydrates which you can enjoy guilt-free.

Nutritive value for 1 bowl of Prawn and egg fried rice:
Energy: 334 kcal Protein: 23.8 g Carbs: 28.1 g Fat: 11.8 g
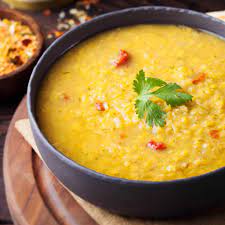
12. Boiled Egg white with Dal
Boiled egg white and dal, both the food items are rich sources of protein and low in carbohydrates. Egg whites are an excellent source of protein. On the other hand, dal is rich in dietary fiber which provides your stomach satiety. Apart from being rich in dietary fiber, dal is also rich in protein, potassium, magnesium and phosphorus which have their own benefits on your body.
Nutritive value for 3 boiled egg with 1 katori of Dal:
Energy: 190 kcal Protein: 19.9 g Carbs: 22.9 g Fat: 6.6 g
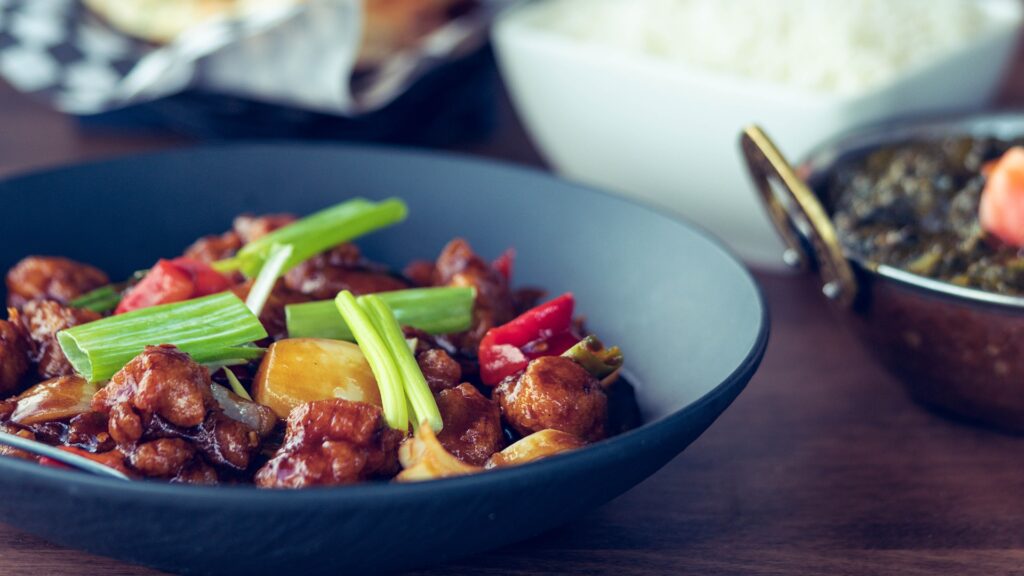
13. Korean style sweet and spicy chicken with mix veg fried rice
Non-vegetarians loves chicken. They love its every dish. This Korean style sweet and spicy chicken is very famous and also a must-try for all the chicken lovers out there.
Korean style chicken is known for its crunchy exterior and its sweet as well as spicy sauce. You can use leg, thigh, or even breast of chicken for this dish. Make this at your home and enjoy the authentic flavors of Korea.

Nutritive value for 1 serving of Korean style sweet and spicy chicken with mix veg fried rice:
Energy: 401 kcal Protein: 15 g Carbs: 24 g Fat: 18 g
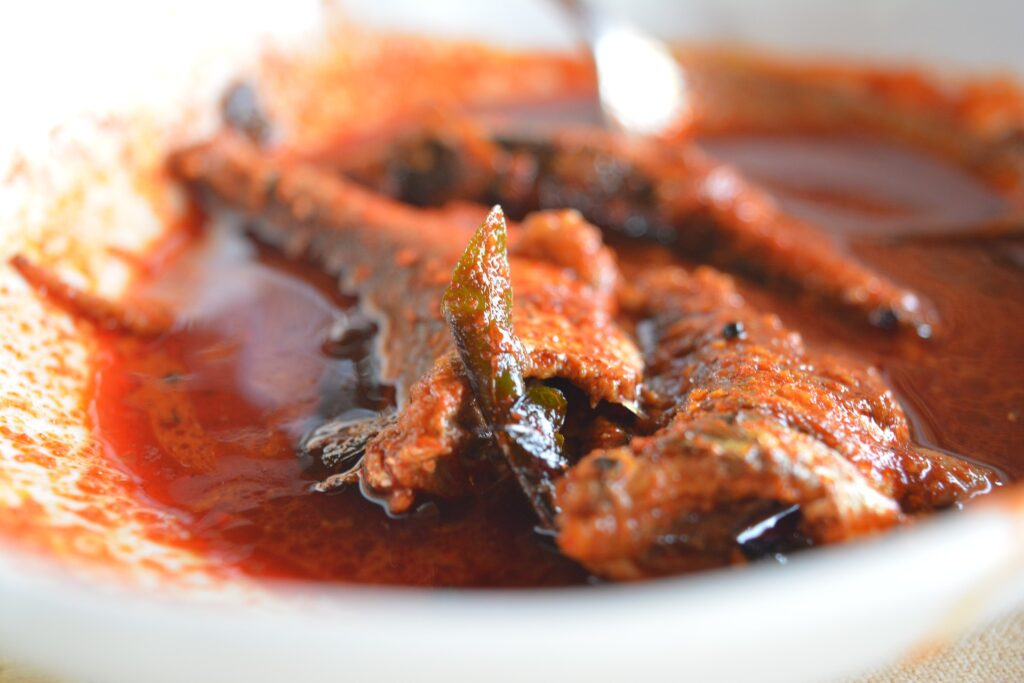
14. Fish curry with rice/Chicken curry with rice for low-carb and high-protein meals
Fish curry/Chicken curry is a famous dish and indeed loved by non-vegetarians. The curry is not only delicious but also flavorful as well as soft and tender. Serve these curries with rice which will give your stomach satiety.
Nutritive value for 1 Fish curry with rice bowl:
Energy: 285 kcal Protein: 14.6 g Carbs: 29.6 g Fat: 9.7 g

Nutritive value for 1 Chicken curry with rice bowl:
Energy: 425 kcal Protein: 35.8 g Carbs: 28.9 g Fat: 14.5 g
If you are struggling shedding weight. You can talk to us by taking this assessment: Click here
For more information click here